

The new system has been unpacked and the speakers have found their place. Now comes the wiring. And as indispensable as cables are, most people do not particularly enjoy running them. No wonder, because wiring requires hands-on work. But once you understand the principle and take a little time, the task is manageable. Accessories can also make things easier.
Teufel Tutorial on YouTube: Connecting Speakers
Lisa shows you tips & tricks for wiring speakers:
Speaker Cable Basics
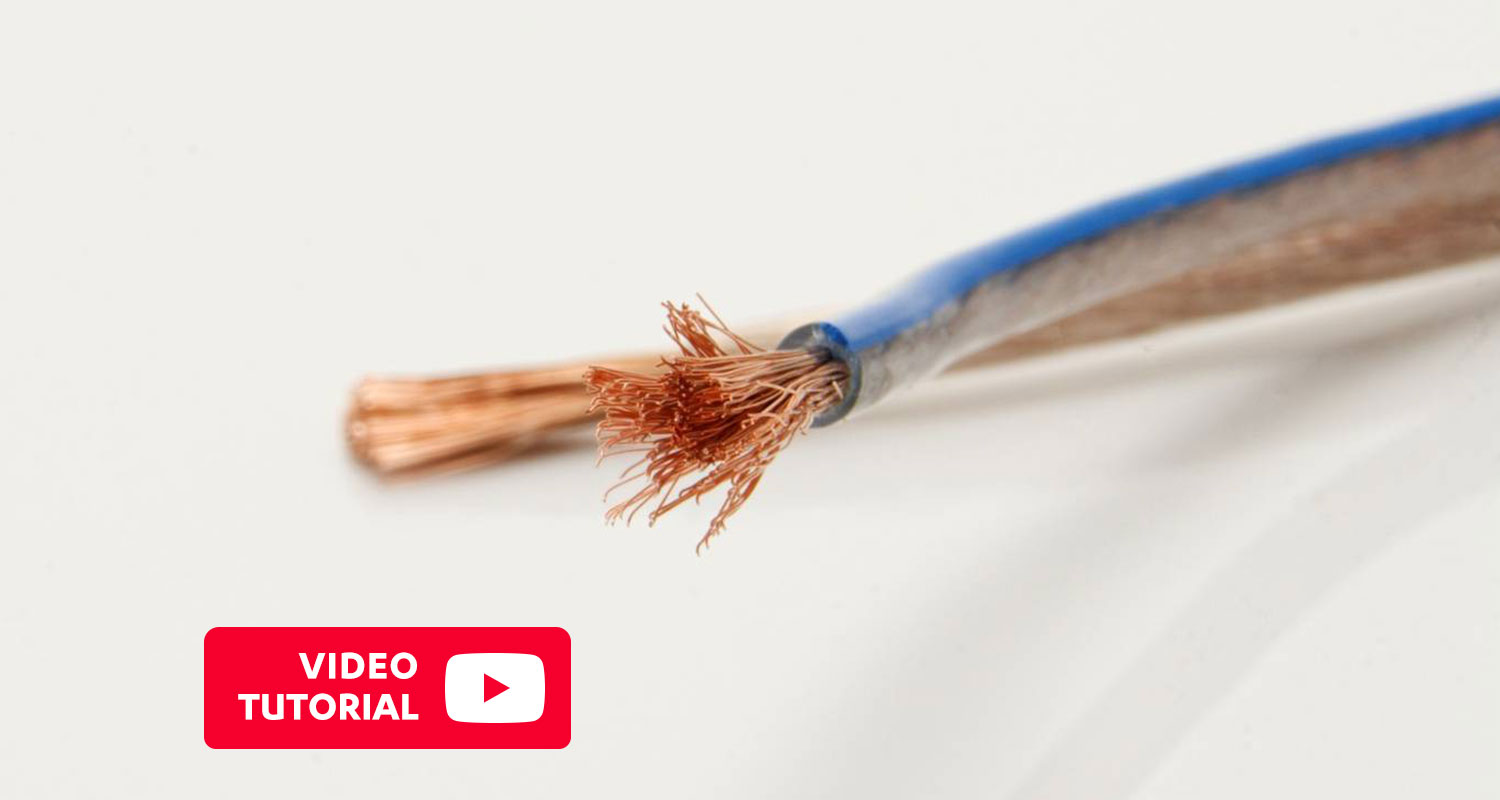
In a hi-fi system, each speaker is driven by its own electrical signal. Accordingly, each speaker is connected by a cable to the receiver or amplifier. In a 5.1 system, that means 6 cables; in a 7.1 system, 8. The subwoofer is usually connected via a mono RCA cable. The remaining speakers, however, are connected using two-core speaker cables. Two copper conductors (strands) transmit the audio signal from the receiver to the speaker. These strands consist of many thin copper wires. The cable is insulated with plastic, while only the strand ends are exposed – after all, the current needs to flow.
How to Determine the Correct Cable Cross-Section
Whether for stereo speakers or a home theater system, choosing the correct cable cross-section is often underestimated. Speaker cables in modern living spaces now have to do more than just fulfill a technical function, and expectations for cables have changed accordingly. They should often be as inconspicuous as possible or match the interior décor while simultaneously transmitting the audio signal perfectly.
From a physical perspective, determining the correct cross-section means considering that some signal loss occurs per meter of cable. On the other hand, for cable lengths of up to 10 meters, especially in living-room home theater systems with amplifier output power of up to 80 watts, this loss is generally inaudible. Naturally, the cable must also fit into the connectors on the satellites or speakers. The maximum cable cross-section supported by the satellites is explicitly stated on the product pages.
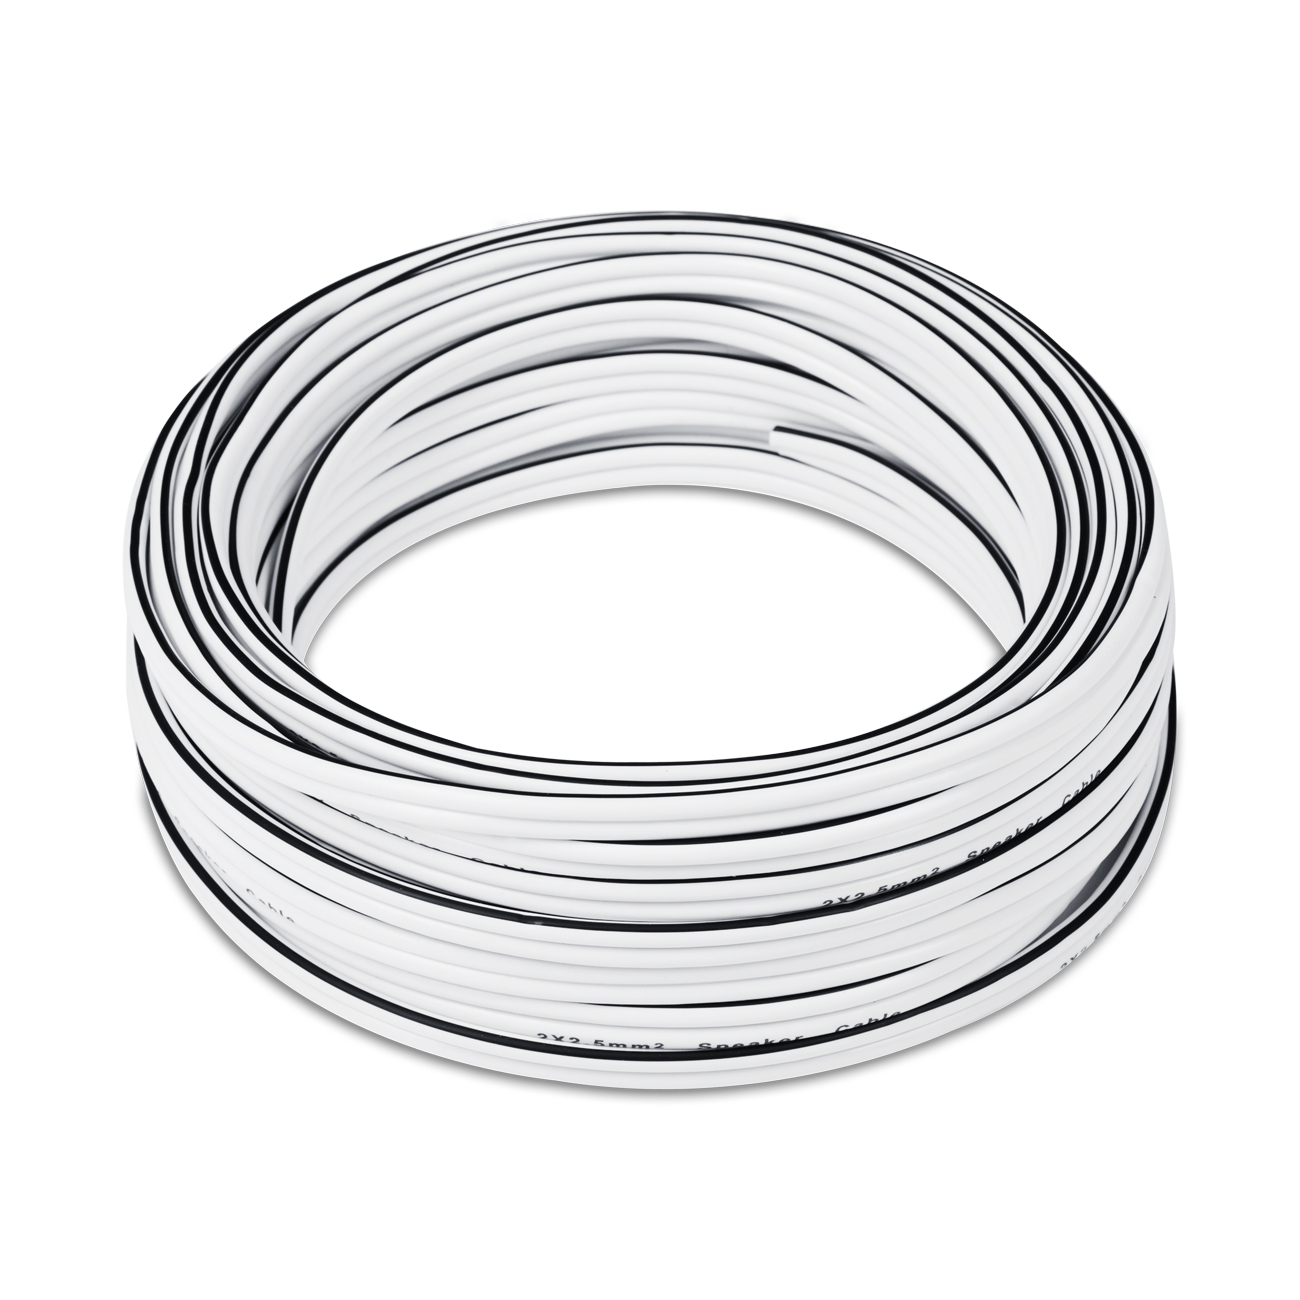
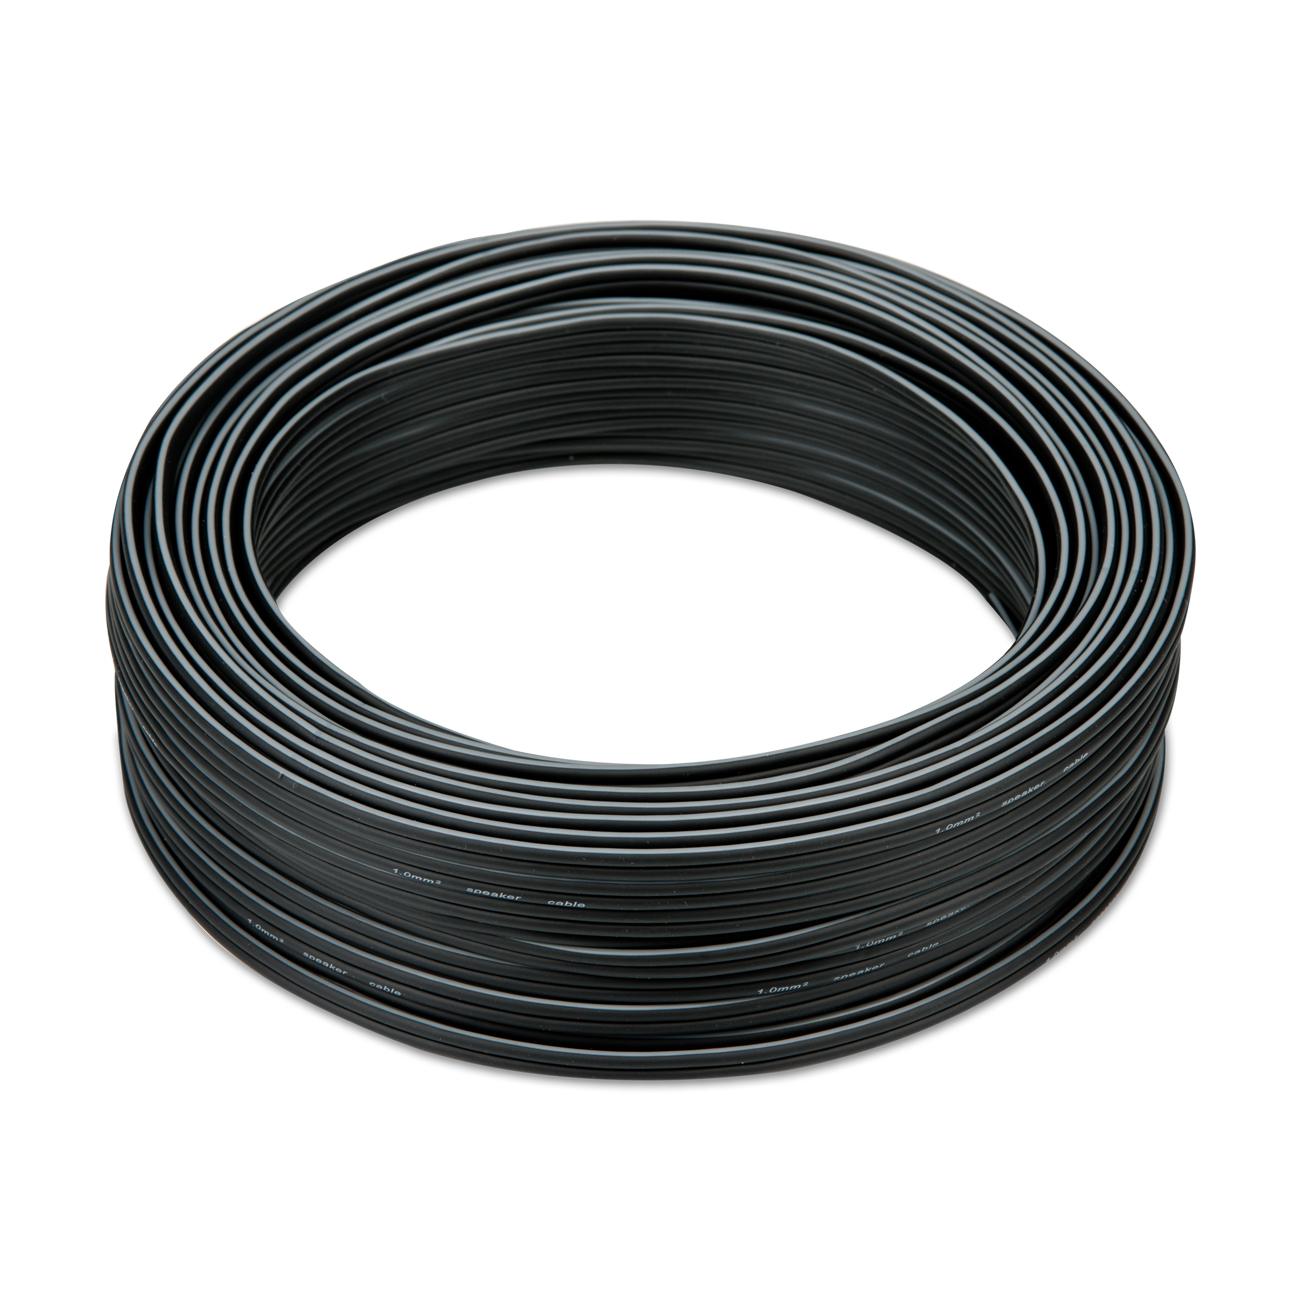
Common cross-sectional areas for speaker cables are: 0.75 mm², 1.5 mm², 2.5 mm², 4 mm² and 6 mm².
Common speaker cable cross-sections are: 0.75 mm², 1.5 mm², 2.5 mm², 4 mm², and 6 mm².
✔ Tip: As a general rule, the shorter the transmission path, the higher the possible volume. However, short cable runs are not always possible, especially in home theater systems. For cable runs longer than 7 m, it is therefore recommended to use a speaker cable with a 2.5 mm² cross-section. Otherwise, maximum volume could quite literally be lost along the way. If one of your speaker cables is too short, we have tips and tricks for extending speaker cables.
Teufel Speaker Cables

What Are Banana Plugs and Spade Connectors Used For?
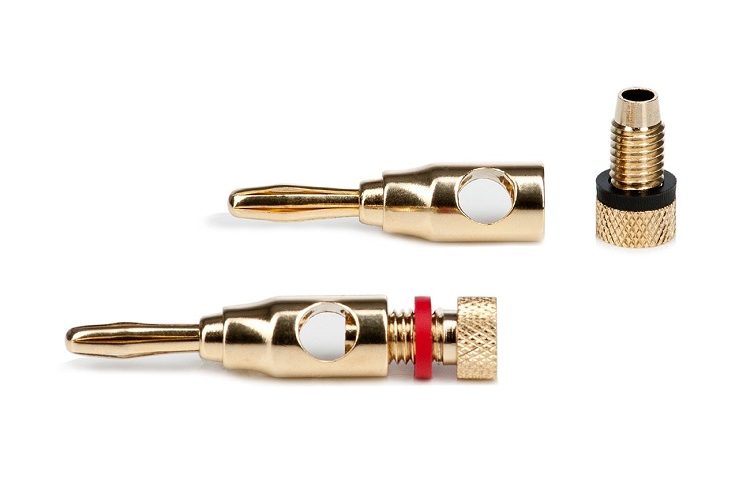
Sometimes the individual copper strands can be difficult to handle. They may stick out or bend. In addition, not everyone likes the appearance of loose strands. This is why banana plugs and spade connectors are commonly used as accessories.
Spade connectors: These are attachments into which the strand ends are inserted before being secured with screw terminals or grub screws. The end of the spade connector is flattened and is clamped into the speaker output screw terminal of the receiver, just like the strands themselves. The diameter of the sleeve and cable must match.
✔ Tip: With spade connectors, there is a good chance that the screw connection may loosen over time. Be sure to retighten it occasionally.
 Opens in new tab
Banana plugs: Banana plugs are connected in a different way than spade connectors. They are not clamped using screw terminals but are plugged directly into the receiver or amplifier outputs.
Step by Step: Connect Speaker Cables Quickly and Safely
You can connect your speakers in 6 steps – in our quick guide, we’ve summarised the key points for you.
- Setting up speakers and other equipment
First, set up the speakers and the receiver or amplifier. Wiring will be much easier if the connections are easily accessible.
- Laying cables
The speaker cables should, where possible, be routed from the speakers to the receiver in such a way that they do not get in the way or become a tripping hazard. Plastic cable ducts or cable sleeves can help with this.
- Connect the cable to the receiver
Unscrew the screw caps on the receiver output until a gap appears. Clamp a stripped cable end into each of these gaps.
- Pay attention to every wire
Insert the stripped ends of the wires so that no strands are sticking out.
- Choosing the right connections
It’s easy to see which outputs you need to connect the speaker cables to, as the sockets are clearly labelled. For example, the speakers on the right-hand side must be connected to the ‘Speaker right’ output.
- Plus goes with plus, minus with minus
Take care not to reverse the polarity of the speaker cables. The cable wire connected to the positive terminal of the speaker must also be connected to the positive terminal of the receiver. The cables are colour-coded for guidance. If the polarity is reversed, the bass will resonate inwards rather than outwards.
Connect your speakers in 6 steps – our short guide summarizes what matters most.
- Set up the speakers and equipment
First, position the speakers and the receiver or amplifier. Wiring becomes much easier when the connections are easily accessible.
- Route the cables
The speaker cables should be routed from the speakers to the receiver in a way that does not cause inconvenience or create tripping hazards. Cable channels or sleeves can help.
- Connect the cables to the receiver
Unscrew the receiver terminals until a gap appears. Clamp one stripped cable end into each gap.
- Pay attention to every strand
Insert the stripped strand ends so that no wires stick out.
- Choose the correct connections
It is easy to identify the correct outputs because the sockets are clearly labeled. For example, speakers on the right side must be connected to the “Speaker right” output.
- Positive to positive, negative to negative
Make sure not to reverse the polarity of the speaker cables. The conductor connected to the positive terminal of the speaker must also connect to the positive terminal of the receiver. The cables are color-coded for orientation. If the polarity is reversed, the woofers move inward instead of outward.
Teufel Connects
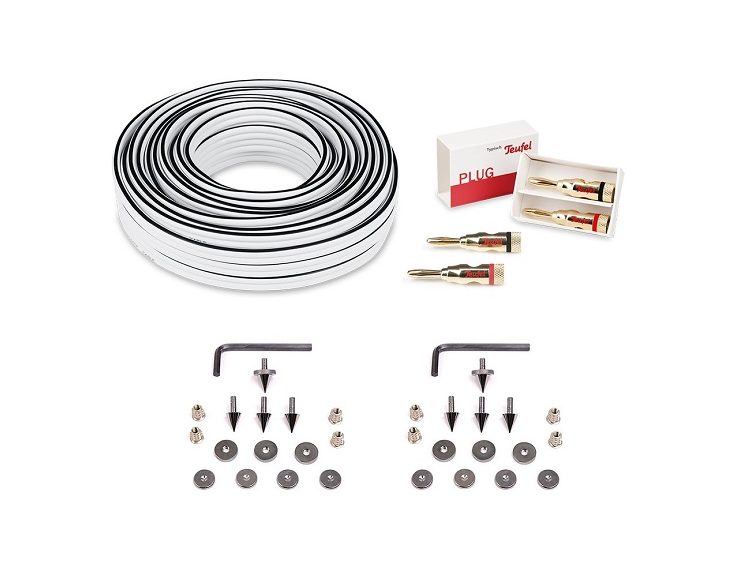 Opens in new tab
▶ With the 2.0 ‘Performance’ stereo cable setOpens in new tab, you’ll be perfectly equipped to connect your high-quality floorstanding speakersOpens in new tab. As well as the cable, the set also includes matching banana plugs and spikes.
▶ With the 1.5 m C7515D coaxial cableOpens in new tab, you can easily connect your Blu-ray or CD player to your receiver. The robust sheath protects the cable from damage.
High-performance receivers in the Teufel Shop
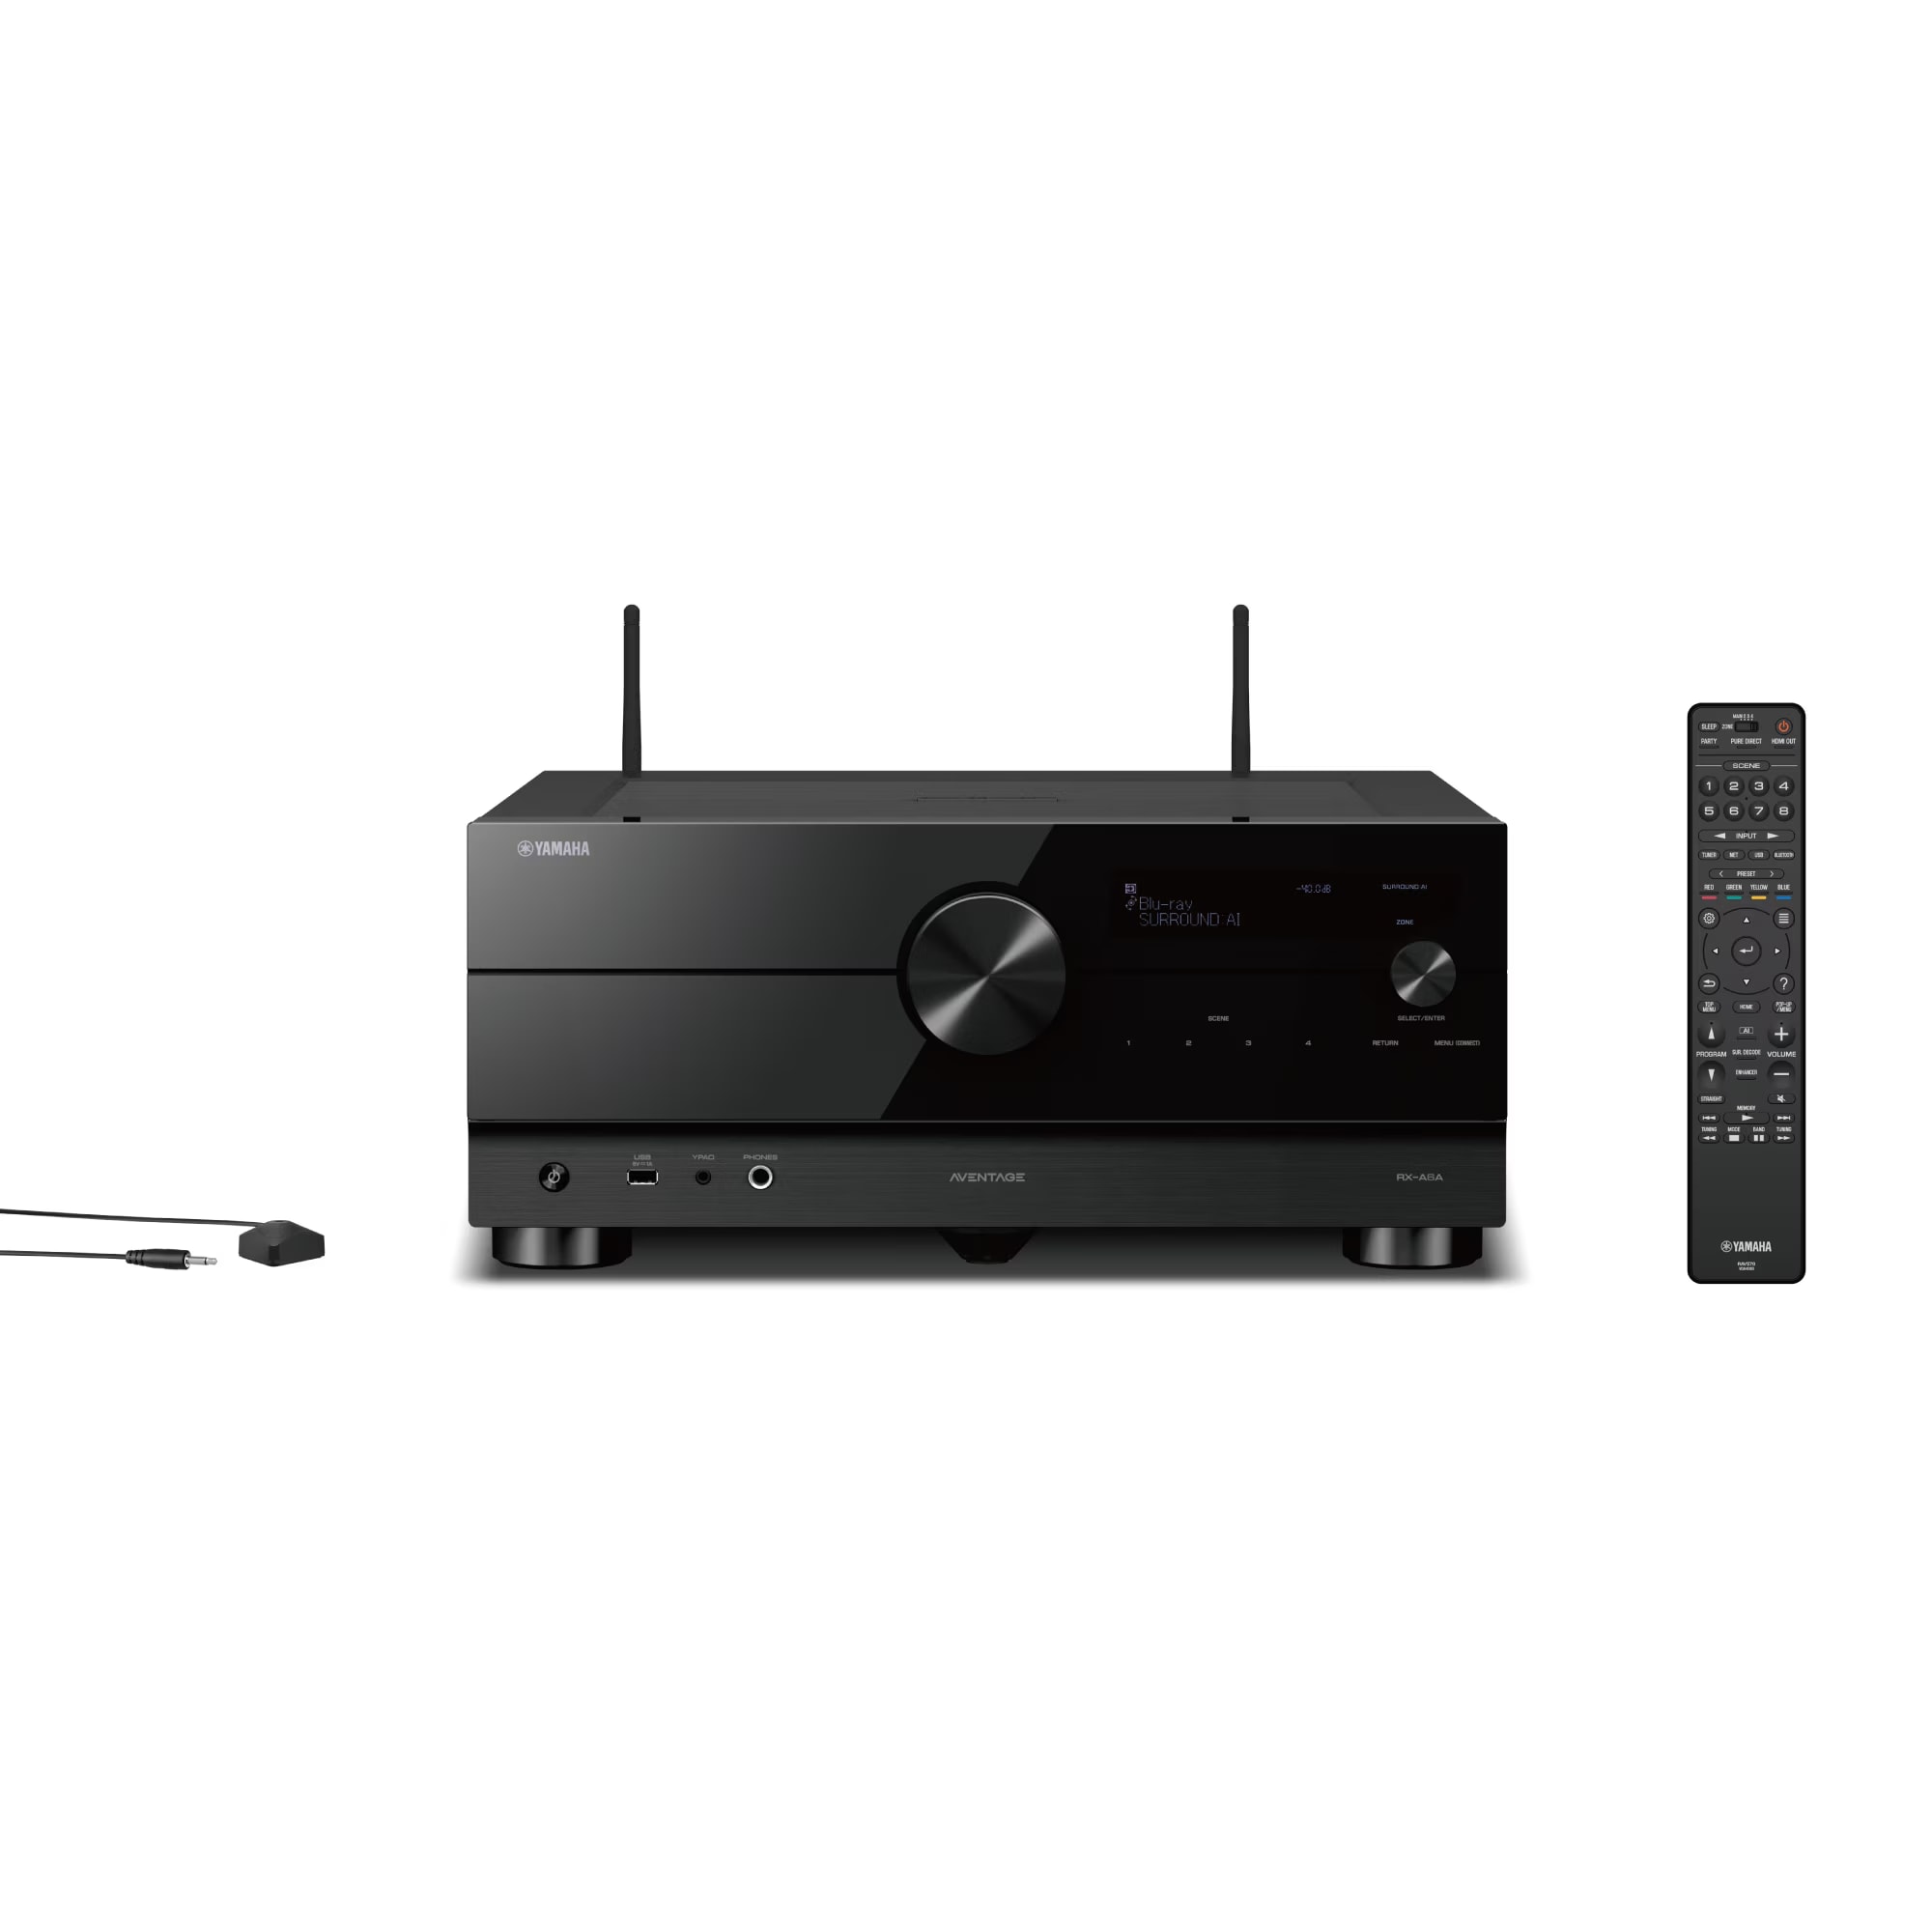
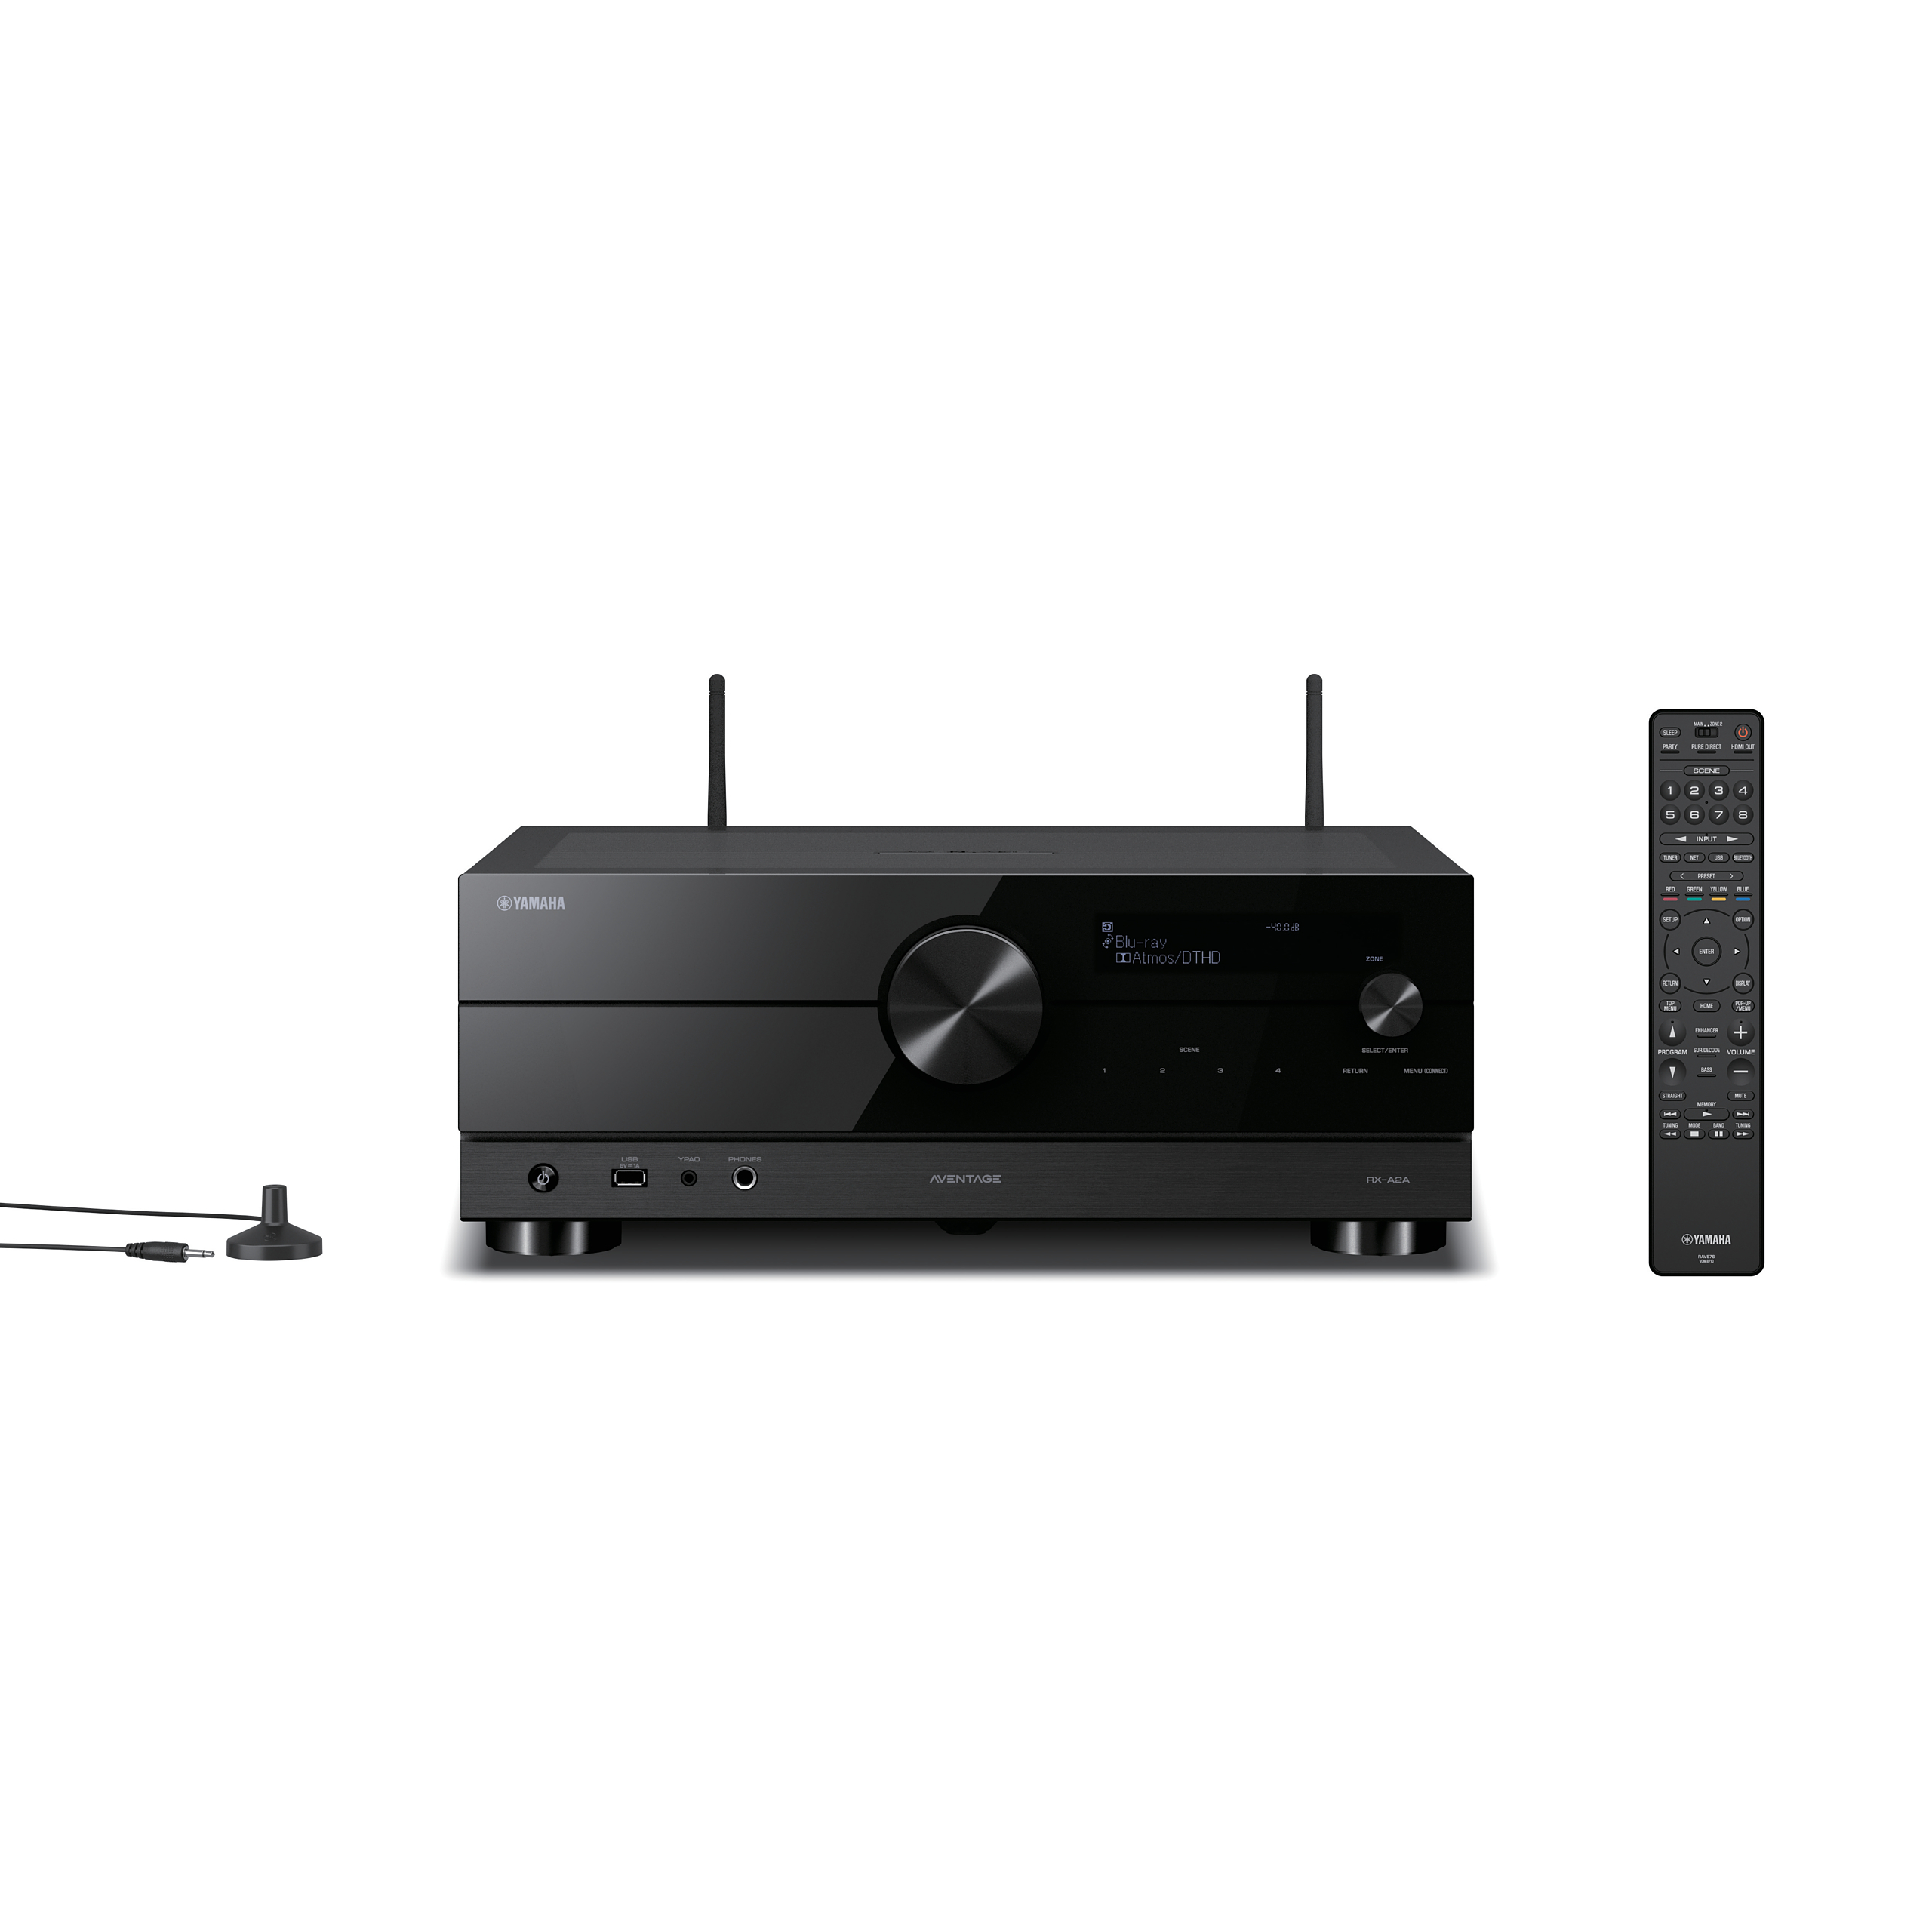
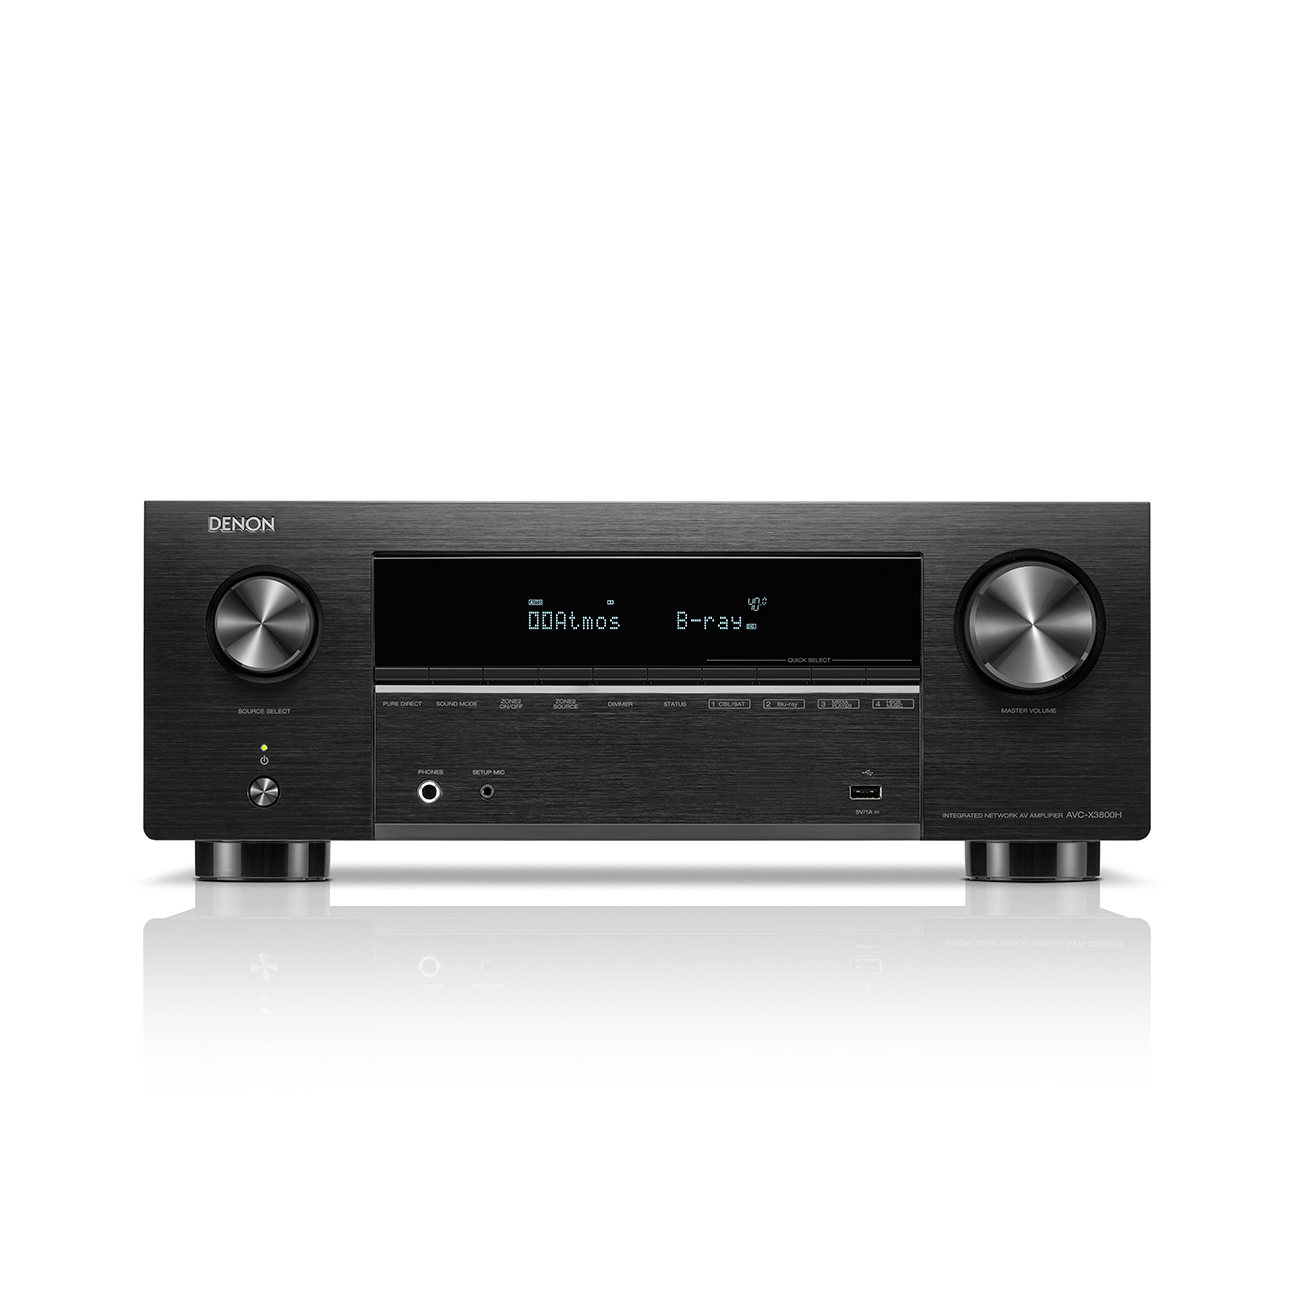
Conclusion: Connecting Speaker Cables Is Not So Difficult After All
- A hi-fi speaker cable generally consists of two copper conductors (strands).
- Subwoofers are connected separately via a mono RCA cable (to the “Sub Out” connection).
- Stripped speaker cables are attached to the receiver outputs using screw terminals. It is important that no copper strands stick out or bend.
- Alternatively, you can use banana plugs or spade connectors.
- The wiring can be completed in just 6 steps.
Frequently Asked Questions: Connecting Speaker Cables
Switch off all appliances before you start. Cut the cables to the correct length and strip back about 10–15 mm of insulation from both ends. The exposed copper strands should be twisted together slightly so that no wires stick out – this prevents short circuits.
The positive and negative terminals must be connected correctly (red to red, black to black). Incorrect polarity will cause the speakers to operate in antiphase, which significantly reduces the bass and degrades sound quality.
Direct connection: Insert the cable ends into the screw terminals and tighten.
Wire ferrules: Protect the strands and ensure a secure hold.
Banana plugs: Easy to plug in, ideal for frequent reconnection.
Cable lugs: Similar to ferrules, cable lugs offer additional security.
With speakers that have two pairs of terminals, such as those in the Teufel Definion series, you can drive the high and low frequency ranges separately. When doing so, remove the metal bridges between the terminals, otherwise you risk causing a short circuit. Bi-amping even uses separate amplifiers for both ranges.
Do not use extremely thin cables – they are often only intended as a stopgap. For normal distances, cables with a cross-sectional area of 2.5 mm² are sufficient. For longer distances or high-power speakers, thicker cables are advisable.
Switch off all devices before you begin. Cut the cables to the required length and remove approximately 10–15 mm of insulation from both ends. The exposed copper strands should be lightly twisted so that no wires stick out, preventing short circuits.
The positive and negative terminals must be connected correctly (red to red, black to black). Incorrect polarity causes the speakers to operate out of phase, significantly reducing bass performance and sound quality.
Direct connection: Insert the cable ends into the screw terminals and tighten them.
Ferrules: Protect the strands and ensure a secure connection.
Banana plugs: Easy to insert, ideal for frequent reconnections.
Spade connectors: Similar to ferrules, they provide additional security.
With speakers featuring two pairs of terminals, such as those in the Teufel Definion series, you can drive the high- and low-frequency sections separately. Remove the metal bridges between the terminals first, otherwise you risk a short circuit. Bi-amping even uses separate amplifiers for both sections.
Avoid extremely thin cables, as they are often intended only as a temporary solution. For normal distances, cables with a cross-section of 2.5 mm² are sufficient. For longer runs or powerful speakers, thicker cables are advisable.
Cover image: ©Bru-nO, Pixabay licenceOpens in new tab. Source: PixabayOpens in new tab.



Leave a Reply