These are questions that probably every CD player owner has asked themselves: should you transfer your CD collection to your PC for preservation? How’s the best way to do it? The answer to the first question is: yes. We explain why the effort is worth it and how to go about it properly. By the way, you can’t really call it “digitization.” Unlike vinyl records, the audio data on a CD is already digital – but the format isn’t ideal for computer hard drives or mobile storage devices like your smartphone.
4 good reasons for audio conversion
1) Peace of mind instead of worrying
CDs are sturdy, but not immortal. Scratches, disc rot, damaged protective coating – and boom, a track is gone. By ripping your CDs to your PC, you create a backup that lasts – even when your next laptop doesn’t have a disc drive anymore.
2) Top quality, smarter storage
Audio CDs are uncompressed (16 bit / 44.1 kHz) – they sound great, but take up a lot of space. On your computer, you can store them losslessly as FLAC (works everywhere) or ALAC (Apple) and save around 50–60%. For older car radios or players, you can also create MP3s at 320 kbps or AAC files. Clean, lean, and flexible.
3) Mobile, everywhere, instantly
Transfer your CDs to your PC once and your portable collection is ready: smartphone, hi-res player, NAS/home network, car, cloud – all included. No disc swapping, no hassle.
4) Your version – always available
Not every album or mastering is available on streaming platforms (and licenses can differ between Germany, Austria, and Switzerland). With your own CD conversion, your collection stays complete – including rare bonus tracks and live CDs. Paid once, always at hand.
CD to MP3 means a loss of quality
The most widespread digital format besides the compact disc is MP3. Among hi‑fi fans, it doesn’t have the best reputation. That’s because it’s a lossy compression format – not all the sound information that was originally recorded makes it into the MP3 file in exactly the same form. While the file size is reduced by more than tenfold, this naturally comes with a loss of quality compared to a CD. Whereas an audio CD reproduces the entire audible frequency range, MP3 data compression cuts off higher frequency ranges. This data loss can sometimes be clearly audible during playback.
However, MP3 isn’t the only format you can use to transfer music from CD to a PC. So‑called lossless formats like FLAC or ALAC compress without any data loss. In terms of sound quality, both formats are on the same level and support sample rates of up to 192 kHz at a depth of 24 bit. The degree of compression is around 50 to 60 percent of the original material.
From CD to PC: step by step
What you need:
- CD drive (internal or external, ideally a USB‑C drive, possibly with a USB‑A adapter)
- Internet (for track info & cover art)
- Software:
- Simple & integrated: Music app (macOS) / Media Player (Windows 10/11)
- More control / lossless: Exact Audio Copy (EAC), dBpoweramp, fre:ac, or foobar2000
1) Connect the hardware & insert the CD
- Plug in the external drive and insert the CD.
- Wait until the system recognizes the audio CD (macOS: sidebar “Audio CD”, Windows: in Media Player under “Music” / “CD”).
2) Choose the format
- ALAC (Apple Lossless): lossless, ideal for the Apple ecosystem.
- FLAC: lossless, cross‑platform & space‑saving (~50–60% of the CD size).
- AAC 256 kbps: very good quality with a small file size, widely compatible.
- MP3 320 kbps / VBR “high”: if older devices or car radios don’t support AAC or FLAC.
Recommendation: For archiving & best quality, go with ALAC (macOS) or FLAC (Windows/macOS). For your phone, additionally create AAC or MP3 files (a dual workflow is easy to set up with EAC, dBpoweramp, or fre:ac).
3) Conversion on macOS (Music app)
- Open the Music app → select “Audio CD” in the sidebar.
- Open Settings → set the import/format (e.g. ALAC for lossless, AAC 256 or MP3 320).
- Enable error correction during import (the option is available when importing a CD).
- Check track info: artist, album, year correct? Missing data is added automatically by the Music app; correct manually if needed.
- Select tracks (checkmarks) → start “Import” / “Convert”.
- By default, the destination folder is the Music library. If you want your own folder structure, set this in advance under Settings > Files.
4) Conversion on Windows 10/11 (Media Player)
- Open Media Player → select the audio CD.
- Open the CD ripping settings/options → choose the format (FLAC for lossless; alternatively AAC or MP3).
- Set the quality (for MP3 “320 kbps”, for AAC “high”).
- Enable error correction (option in the CD ripping/drive settings).
- Check track info and edit if necessary.
- Start the conversion → files are saved in the Music folder (destination path can be adjusted in the settings).
5) More control (EAC / dBpoweramp / fre:ac)
- Exact Audio Copy (EAC): Start the setup wizard, enable Secure Mode and AccurateRip (checks ripping accuracy), choose FLAC or (if needed) MP3.
- dBpoweramp: Very convenient for simultaneous output in FLAC + MP3; clean metadata, cover art added automatically.
- fre:ac / foobar2000: Free, flexible alternatives with solid presets.
Tip for folders & file names:
%artist%/%album%/%tracknumber% – %title%
This keeps everything neatly organized – a real lifesaver for larger collections.
6) Keep metadata & cover art clean
- Enable “automatically fetch track info” in your software.
- For perfect tags (including umlauts Ä/Ö/Ü, genre, year, cover art), MusicBrainz Picard is worth it: scan the CD → accept suggestions → save.
7) Time & storage (rule of thumb)
- Time: about 5–10 minutes per CD (depending on drive and error correction).
- Size per album: FLAC/ALAC approx. 250–500 MB, AAC/MP3 approx. 100–180 MB.
8) Common pitfalls – quick fixes
- CD not recognized: try a different USB port (with hubs: connect directly to the computer), try another cable or power supply.
- Scratches / read errors: enable error correction / Secure Mode, clean the CD, for stubborn cases use EAC.
- Incorrect track info: correct metadata manually or clean it up later with MusicBrainz Picard.
- Car stereo won’t play the files: switch to MP3 320 or check the file system (FAT32) and folder structure.
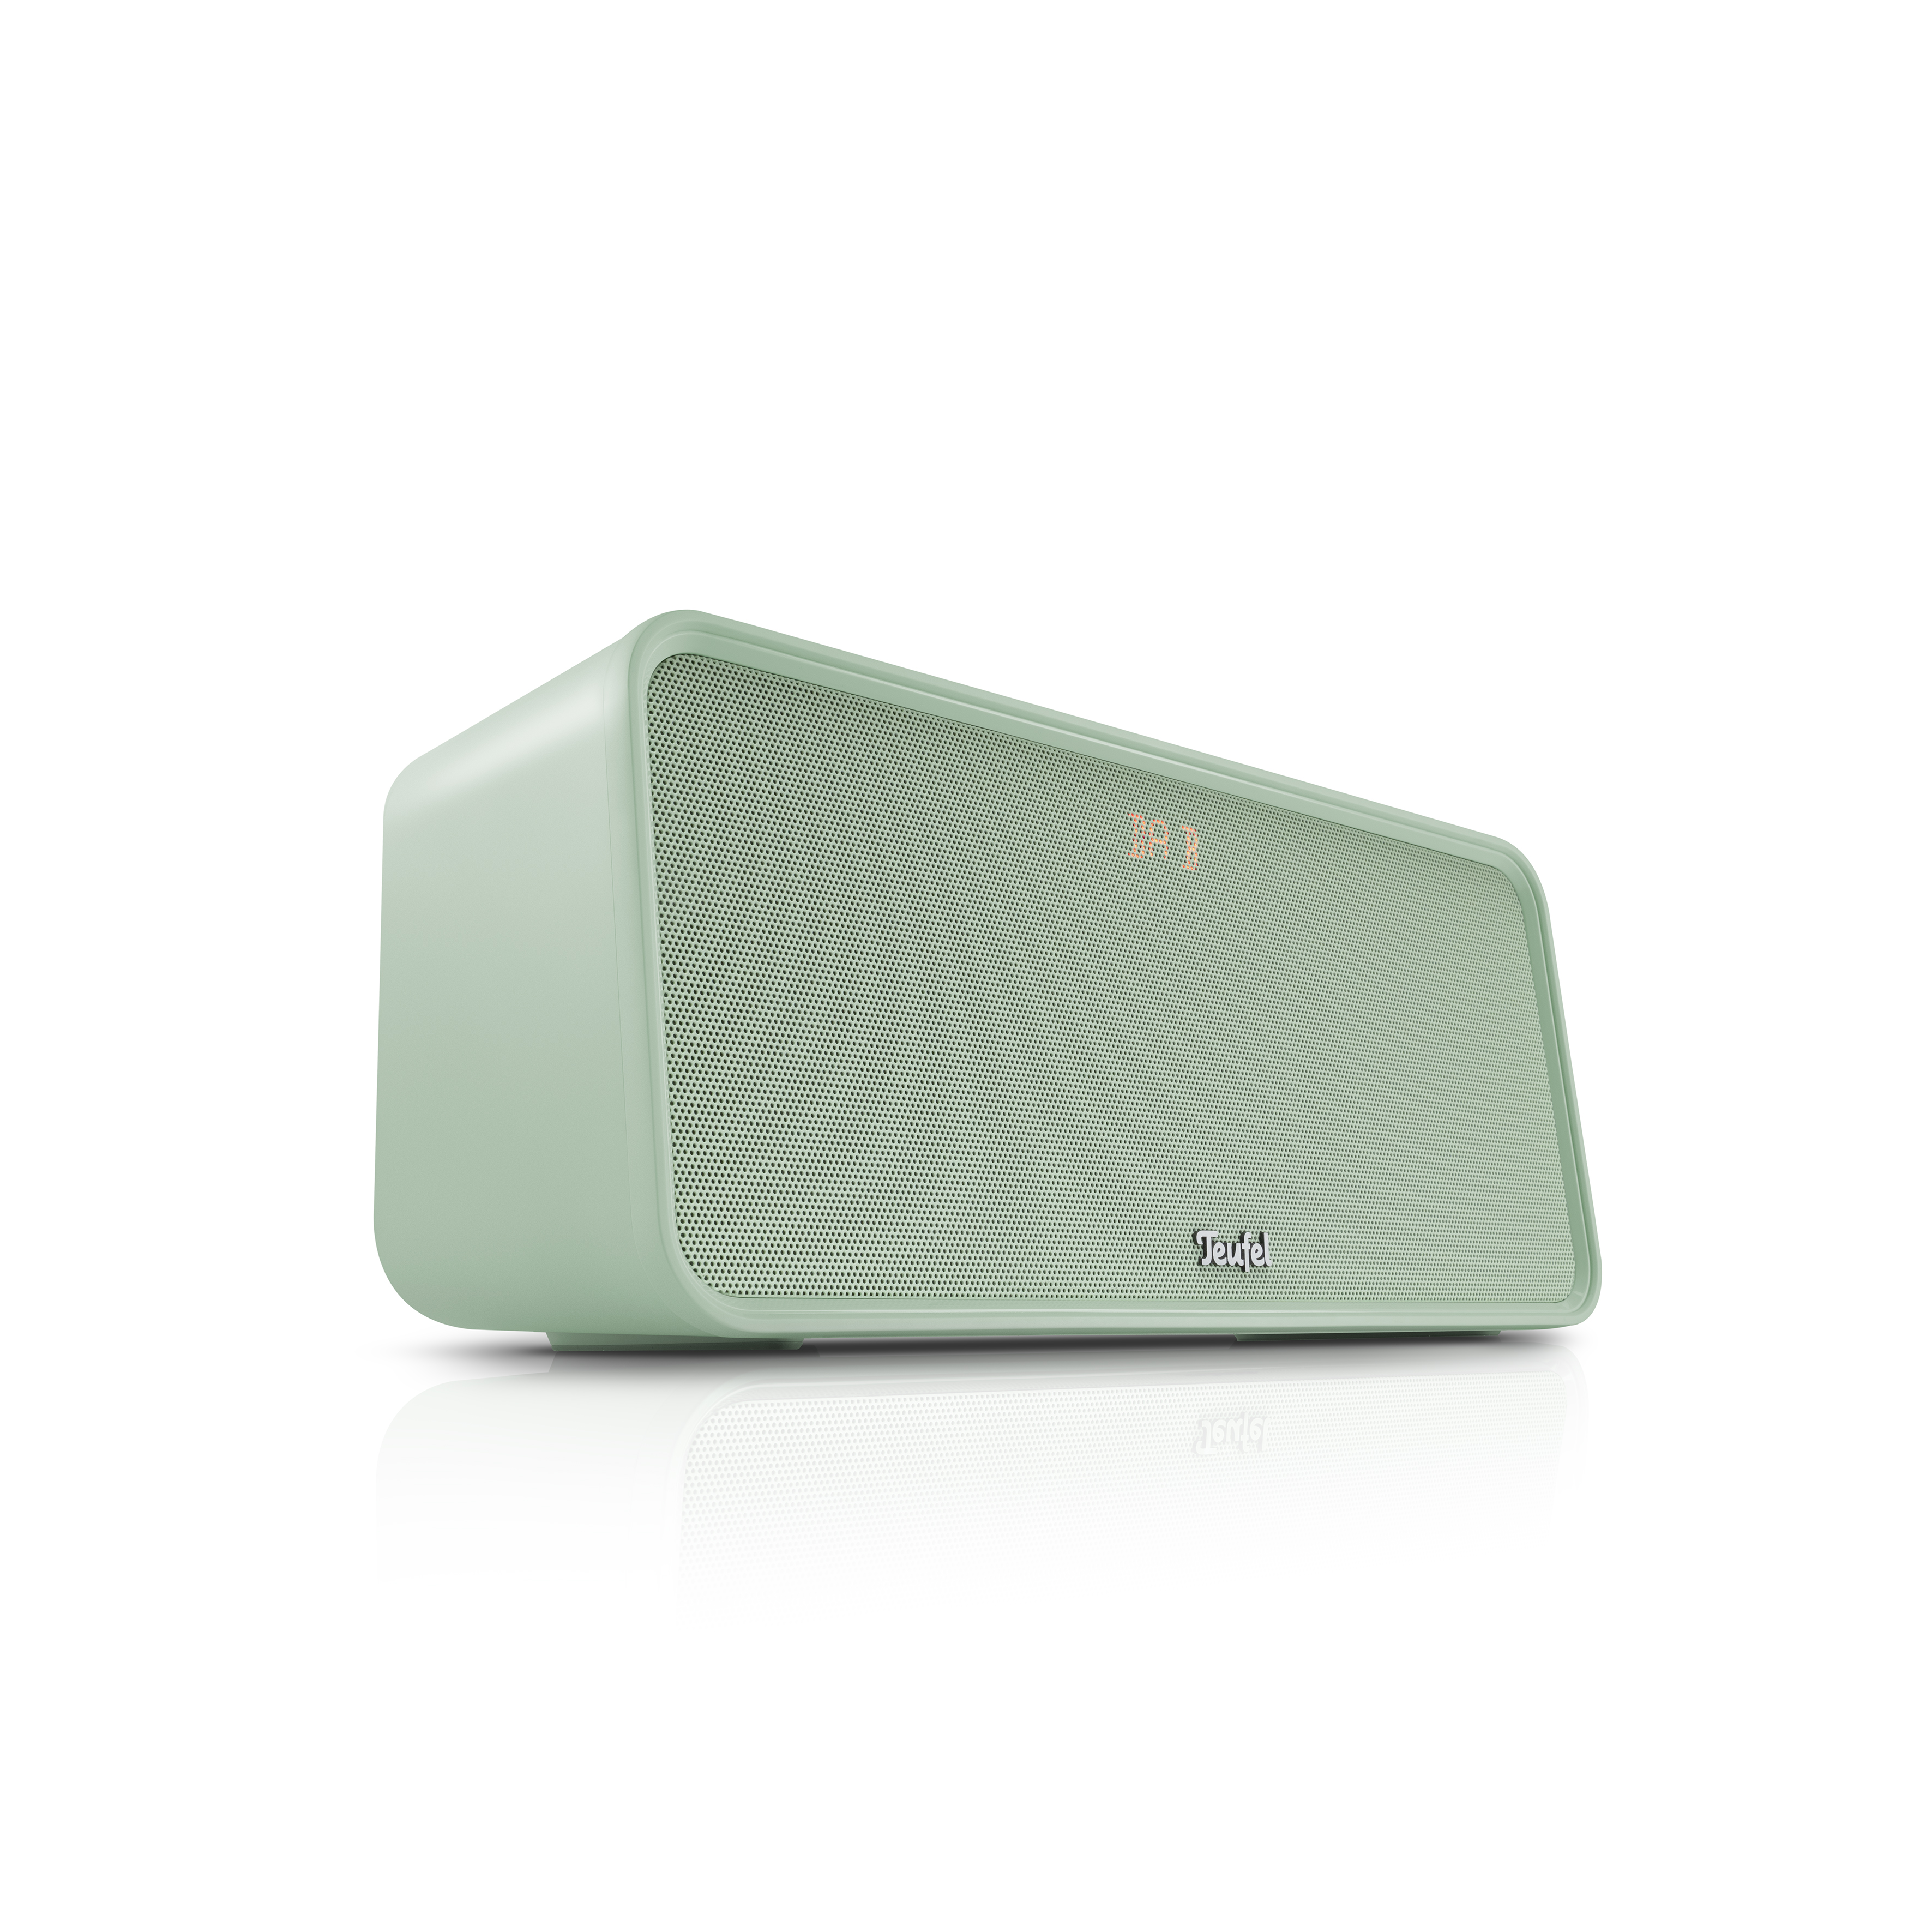
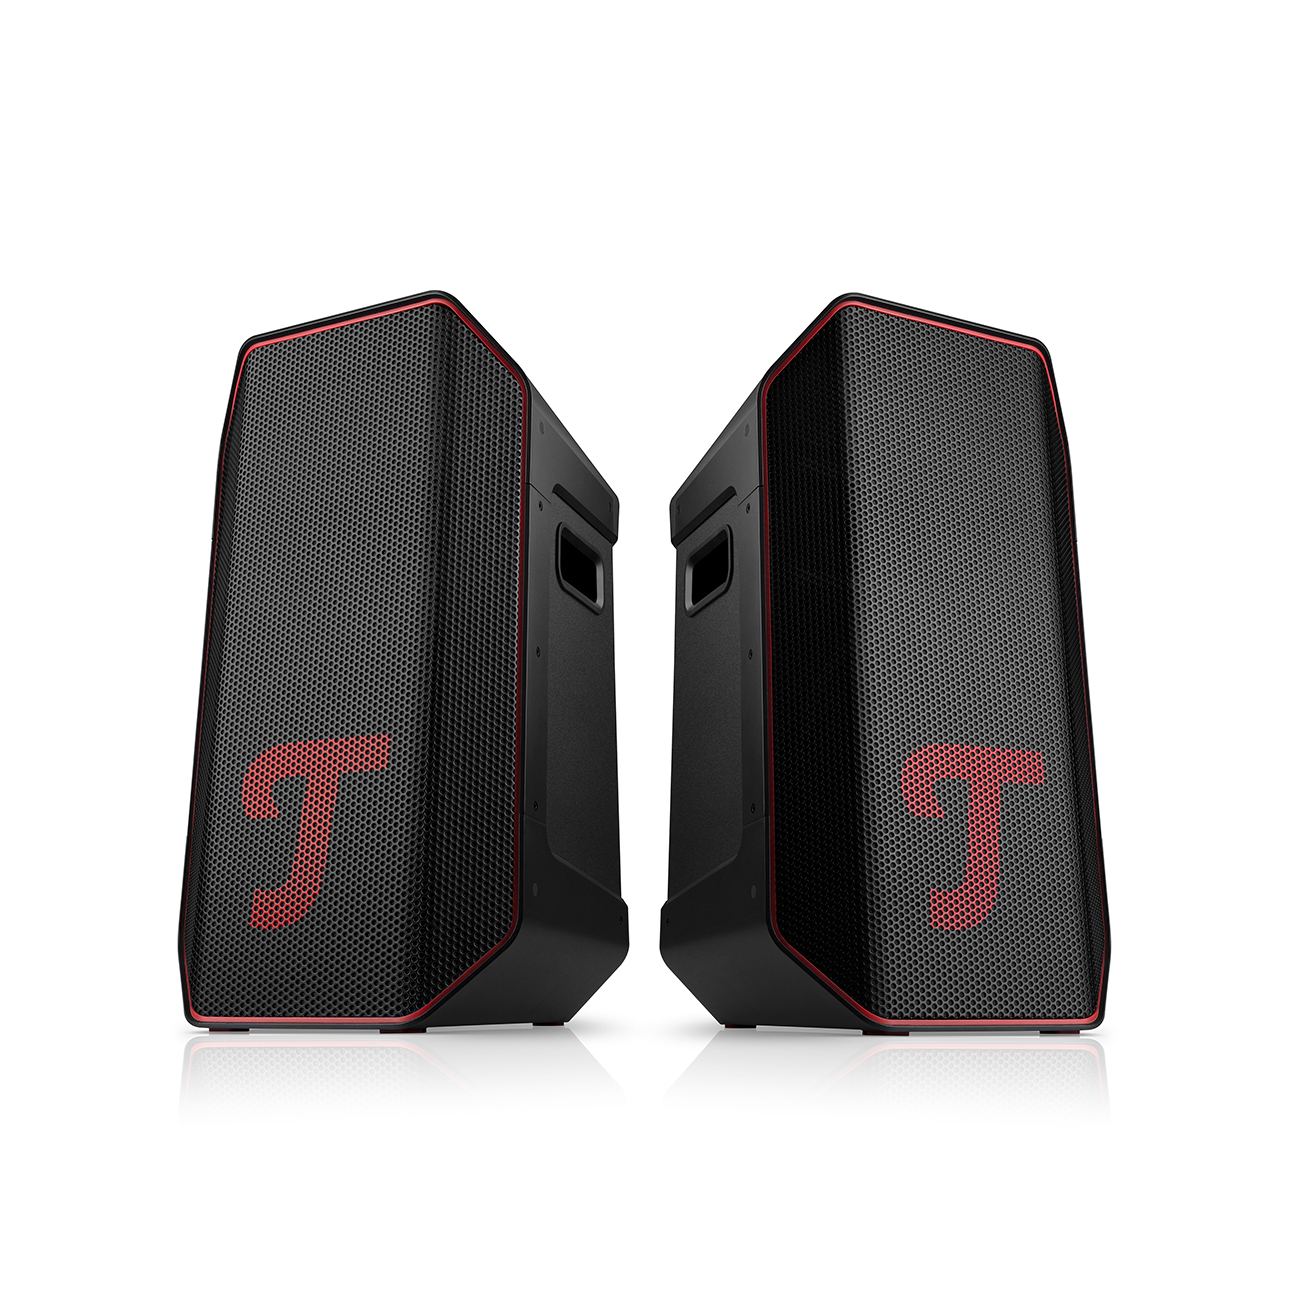
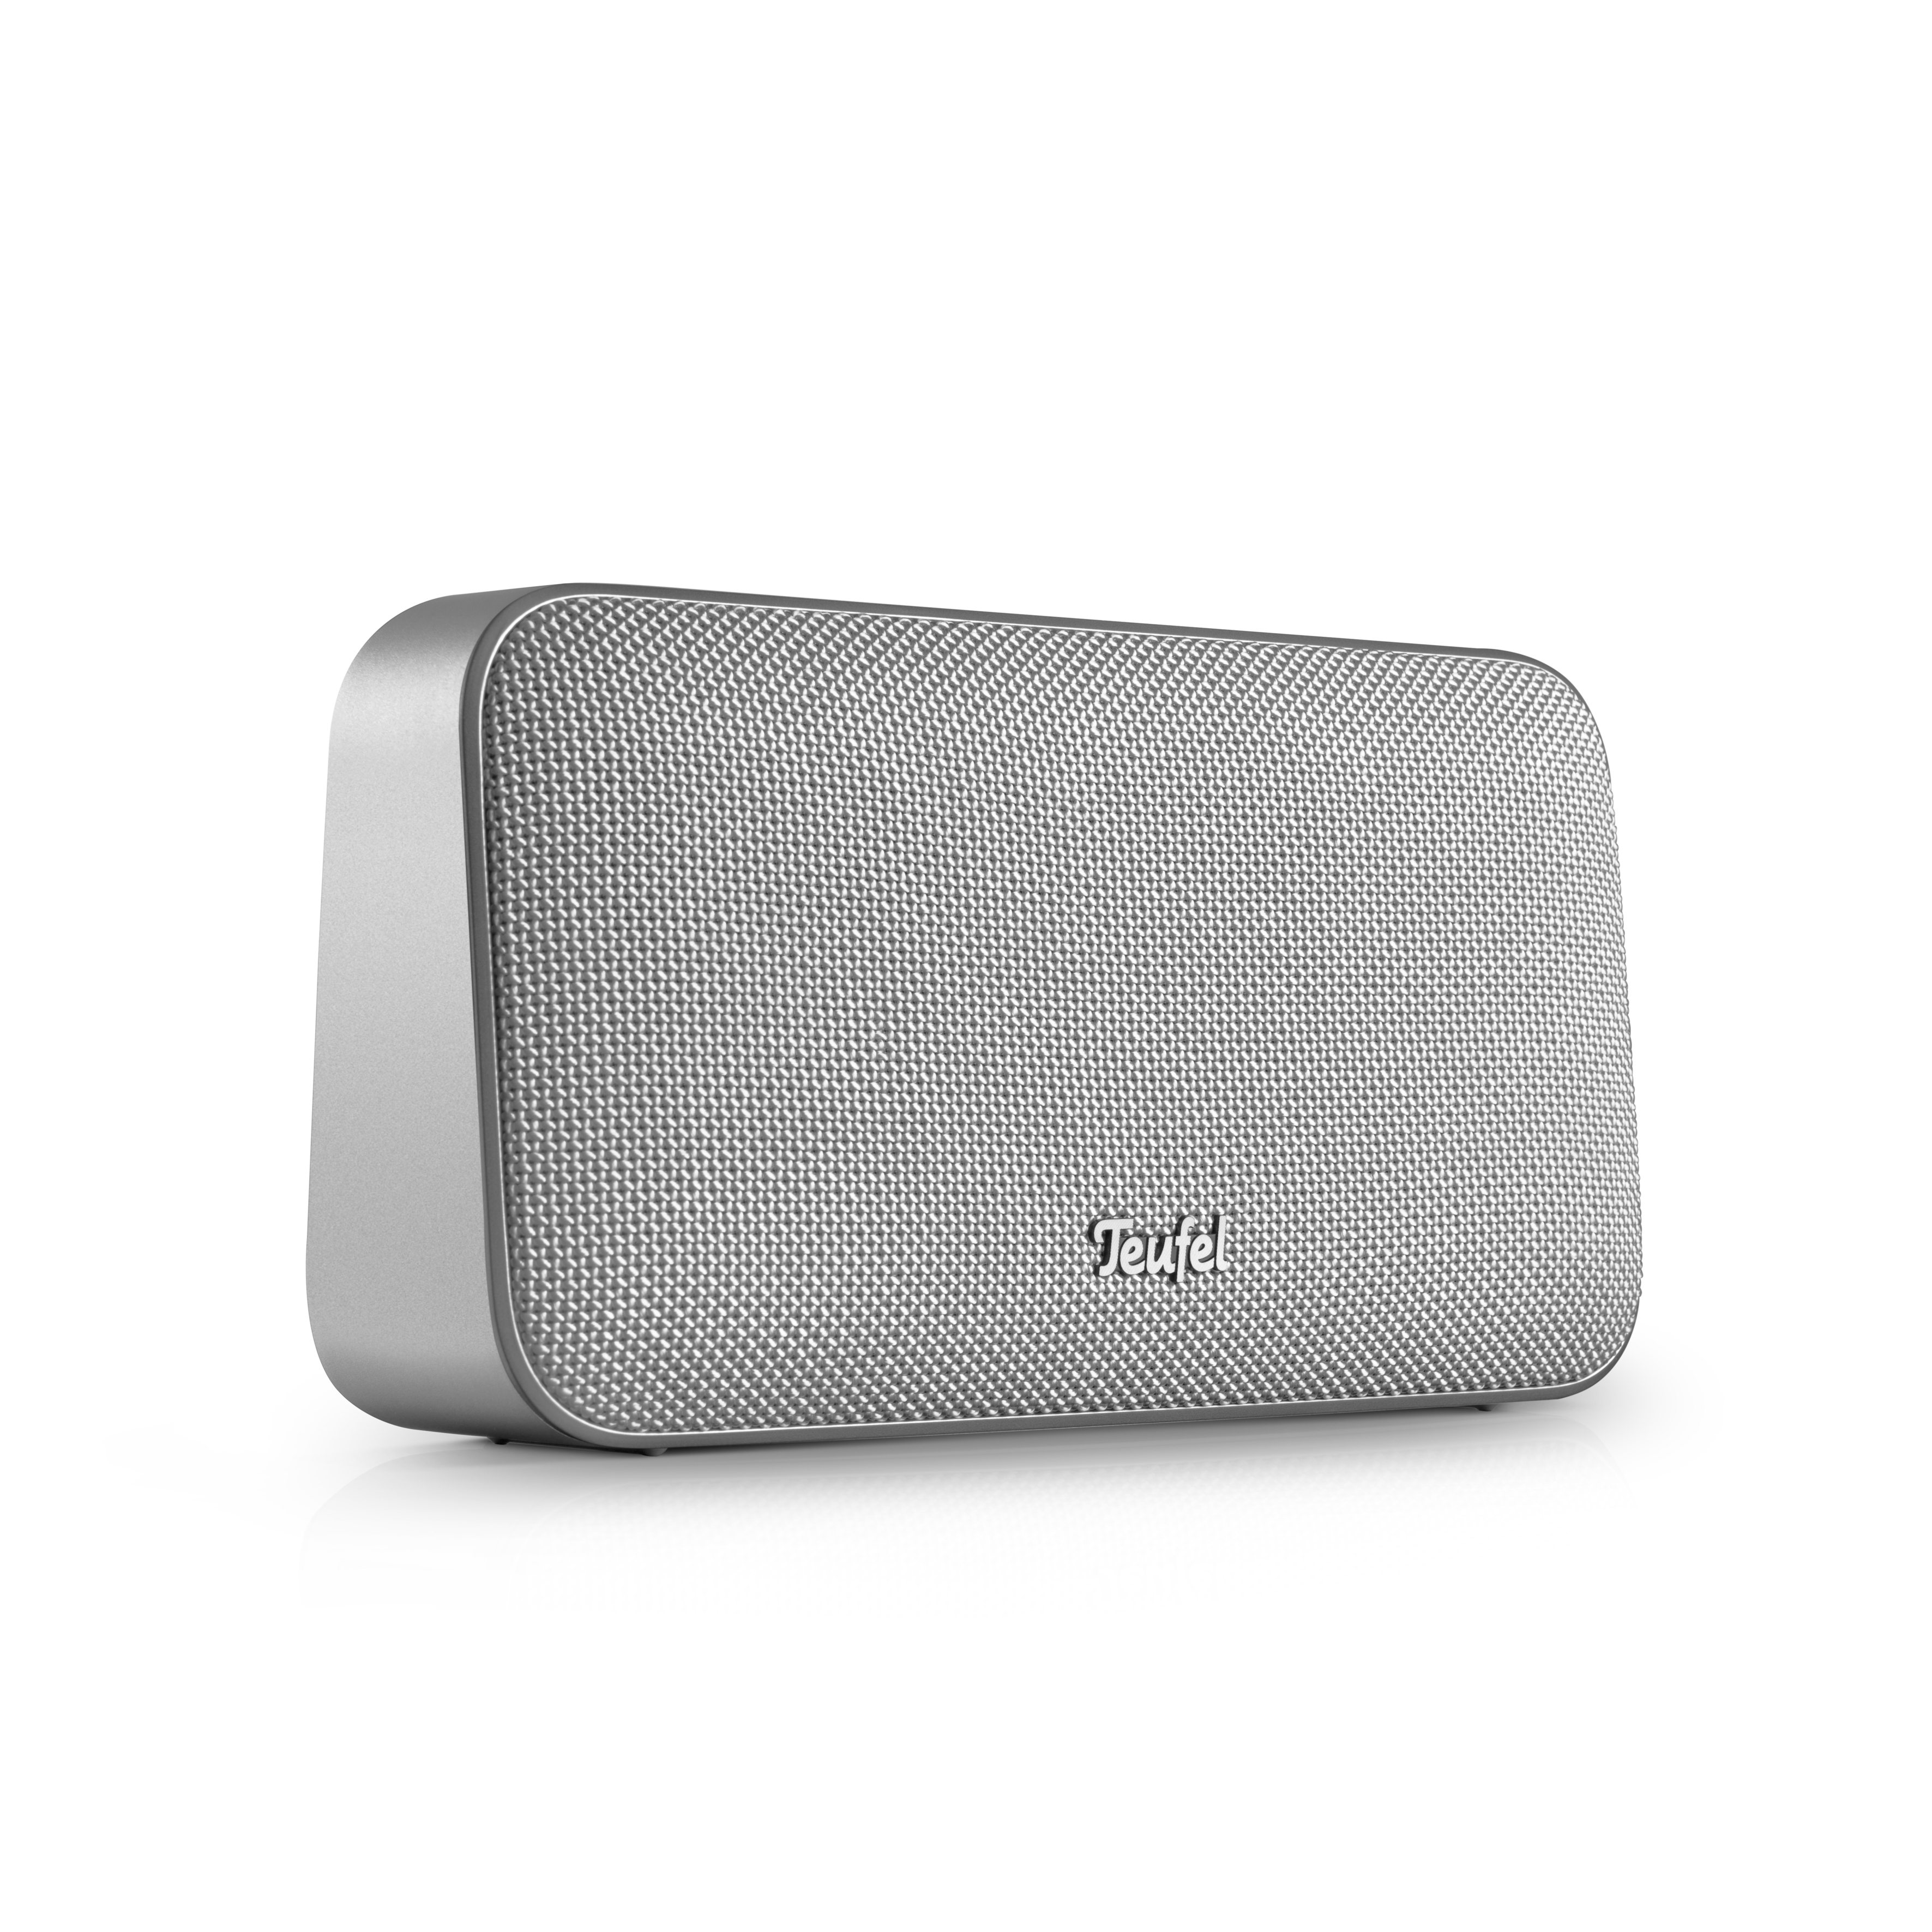
Teufel gear: how to listen to your converted CDs at their best
▶ ULTIMA 20 KomboOpens in new tab: This stereo systemOpens in new tab brings together the best of both worlds – modern streaming and classic CD sound. With Bluetooth and aptX®, you stream your songs in CD‑like quality. And if you feel like popping in a disc again from time to time, you can do that too.
▶ ULTIMA 40 KomboOpens in new tab: This all‑in‑one package gives you true hi‑fi sound – whether digital or analog. BluetoothOpens in new tab with aptX® ensures streaming in CD‑like quality. And the same applies here: if you want to rediscover your collection, the integrated CD player is already waiting for you.
You might be interested in the following products:
Conclusion: no major obstacle to getting music from CD onto your PC
- The durability of audio CDs is limited.
- When it comes to conversion formats, the main options are the lossy MP3 format and the lossless formats ALAC and FLAC.
- When choosing software, the target format is key: iTunes is suitable, among other things, for ALAC and MP3. Exact Audio Copy, on the other hand, is a very good program for FLAC.
Audioblog
The podcast has been automatically generated by AI, but the content comes directly from an article written by our own editorial team. This ensures the quality remains high and allows you to hear our story in a new format.
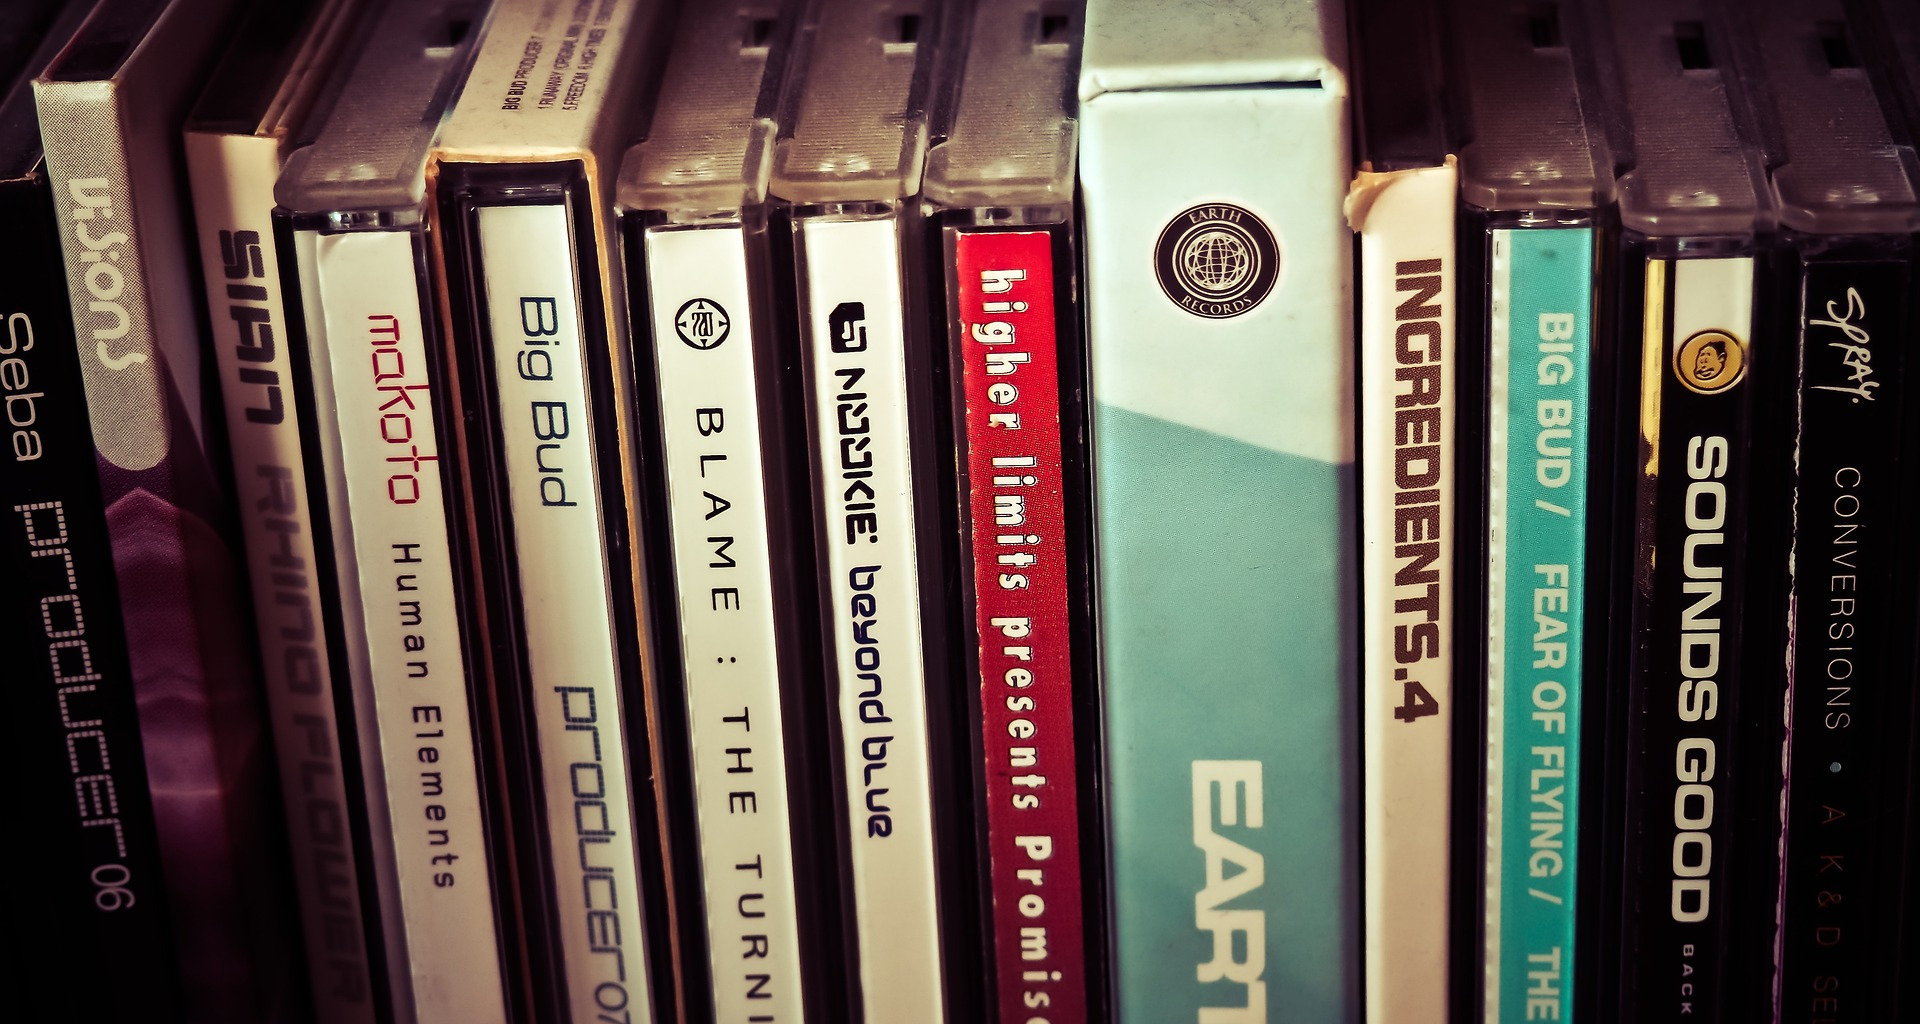
Title picture: By Alice and Matt from US (We Love CDs!!!!!!) [CC BY 2.0 (http://creativecommons.org/licenses/by/2.0)], via Wikimedia Commons


Leave a Reply