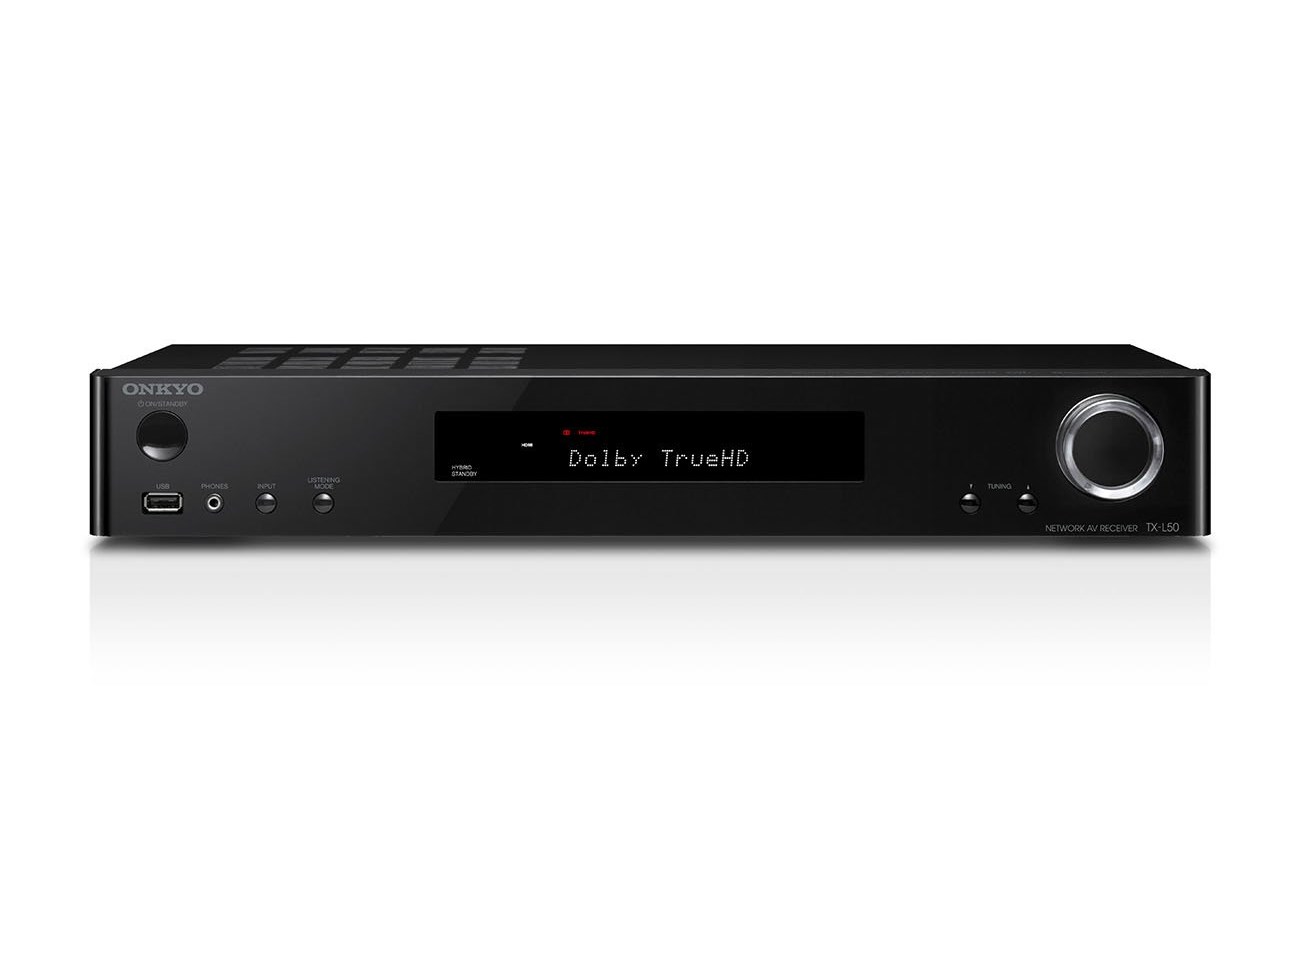
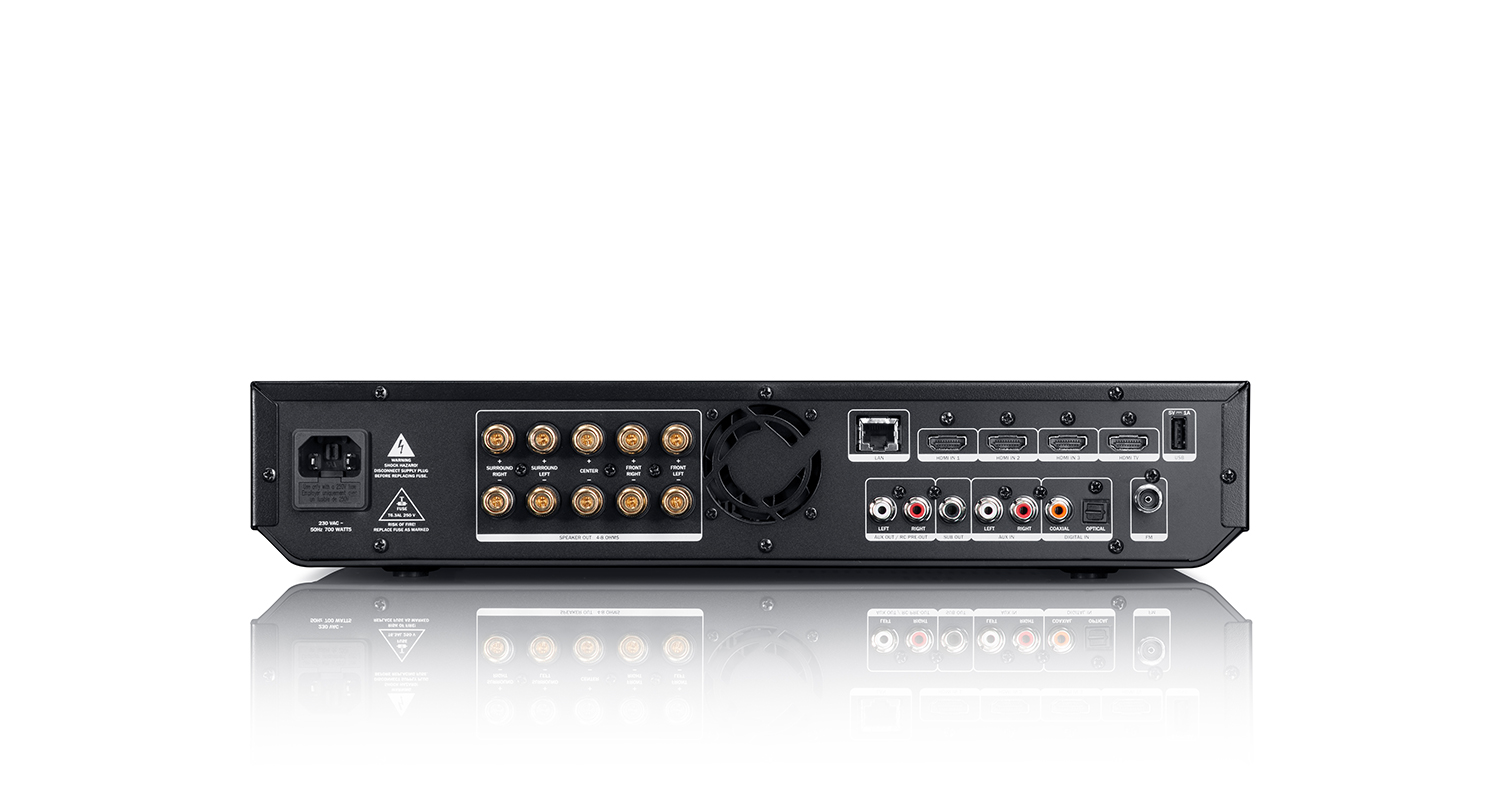
If you’ve ever tried to connect an AV receiver, it’s fair to say you’ve probably got a bit lost. While the front of any device can seem pretty straightforward to navigate, the back is where the puzzle begins. Only one thing is clear, all cables have to be connected to the receiver. The receiver then transforms the audio and video data and sends it the loudspeaker or TV. But now comes the question, which cables belong to which ports? Read on as we explain the multiple setups for various devices and ports.
Connecting a TV to a receiver via HDMI
When it comes to home entertainment HDMI (High Definition Multimedia Interface) is often the go-to. The transmission standard offers the necessary bandwidth for high-resolution images and transmits video and audio data. The first question when connecting an AV receiver is if both devices support HDMI. If yes, then the AC receiver’s monitor output should be simply connected to the TV input for HDMI.
It’s vital that with HDMI to know if ARC is supported. With modern TV sets that should be the case. The abbreviation means “Audio Return Channel” – and this feature makes it possible for the TV to transmit audio data via HDMI and not just receive it. In various connection scenarios, for example, an additional (previously often optical S/PDIF) audio cable becomes unnecessary, for example, when …
- … the audio signal is to be sent to the AV receiver via a DVB-T receiver integrated in the TV set so that a sound system can output the sound.
- … a TV cable is connected to the television and the audio data for 5.1 surround sound is transmitted to the receiver.
- … a hard disk is connected to the TV set via USB or content can be played back via a USB stick, but you want to enjoy the high-quality sound of a surround sound system
- … one likes to playback the sound of a game console connected to the TV externally.
Without ARC the additional cables running between the receiver and the TV set must be laid. Usually, a coax-cable or TOSLINK is used. The HDMI ports that support ARC are often labelled accordingly. When there are more HDMI ports of your TV, usually only one supports reverse channel transmission.
List of HDMI cables that do and don’t support ARC:
| i – HDMI 1 | ii – HDMI 1.3 | iii – HDMI 1.4 | iv- HDMI 2.0 |
|---|---|---|---|
| Yes | No | Yes | No |
[product id=”26969, 28229, 28233″]
Connecting your TV and receiver without HDMI
When the TV or receiver don’t support HDMI, there’s a Plan B. Many older TV models don’t support HDMI, but in most cases have an analogue port. The disadvantage is that they can’t achieve HD quality. These are the possible ports:
- Component-Video: this carries the signal via three separate cinch cables. The colour of the socket is Green (Y) Blue (Pb/Cb) and Red (Pr/Cr). The standard supports analogue signals for HD playback.
- S-Video: Colour and brightness values are transmitted via the cable. The quality of the transmitted signals is significantly lower than that of component video.
- Composite-Video: This method of signal transmission happens via a SCART cable, as well as via a cinch port. The signals are only in PAL quality.
Analogue Plan B may also work if older input devices – such as a video recorder – are connected to the receiver. If the receiver cannot convert the analogue video signals into digital signals, these must be transmitted analogue to the television.
✔ Tip: You can learn more about how HDMI and SCART are transmitted here.
Connecting playback devices to a receiver
The same rule normally applies to Blu-ray and DVD players as it does by TVs. In the ideal situation, you would be able to connect via HDMI. The same for projectors or computer consoles. Whoever uses a DVD player or play a computer without HDMI has to connect to the receiver via analogue. By multiple playback devices, it can happen that there aren’t enough HDMI ports on the receiver. In this case, it’s possible to connect the video signal directly to the TV and connect just the audio via an audio cable to the receiver. The disadvantage of this setup is that more cables are needed. When the receiver has a USB port, you can connect external hard drivers, iPods and MP3 players.
Connecting a loudspeaker to a receiver
When it comes to surround-sound systems multiple speakers must all be simultaneously connected to the receiver. Each loudspeaker contains a cable with two wires (one for + and the other for -) that leads to the receiver. Small clamps attach the wires to the receiver. So newcomers shouldn’t have any worries – the setup is not too technical.
It’s just important that the copper cables are clean and that the copper ends are not frayed. As well as this, you must ensure that the plus and minus are correctly connected, nothing major happens when it’s incorrectly connected, but the sound quality would be compromised. The labels on the receiver clearly state where each loudspeaker port is. Watch the video below to more about connecting to AV receiver.
✔ Tip: You rarely find a port for the subwoofer on the back of a receiver. In most cases, the port is labelled “sub-out” and is often connected per mono-cinch cable.
Powerful performance, slim desgin: Onkyo Receiver

▶ Onkyo TX-RZ840: This powerhouse is the ideal control centre for your home theatre. With 215 watts of power output per channel, it’ll heat up your system. The Onkyo supports everything you could wish for: Even Dolby Atmos and THX are no problem. And with 7 HDMI inputs and 2 HDMI outputs, you’ll have plenty of room to run cables.
▶ Onkyo TX-L50: This slim companion is much less noticeable. Still, you don’t have to worry about full sound. It’s ideal for small rooms up to 20 square meters and will be happy to control your 5.1 system with 80 watts of output power per channel.
Translated with www.DeepL.com/Translator (free version)
Conclusion: HDMI makes everything easier
- The AV receiver connects easiest via HDMI to TV devices.
- Through ARC an additional audio cable is omitted between the TV and receiver.
- Playback devices like Blue Ray can connect via HDMI to the receiver.
- Analogue alternatives to HDMI are Component-Video, S-Video and Composite-Video.
- Loudspeakers are connected via copper cables (2 threads) to the Receiver.
Image 1: ©E3uematsu certain rights apply to this image. Source: Wikimedia
Image 2: ©RobertKuhlmann certain rights apply to this image. Source: Wikimedia


Leave a Reply