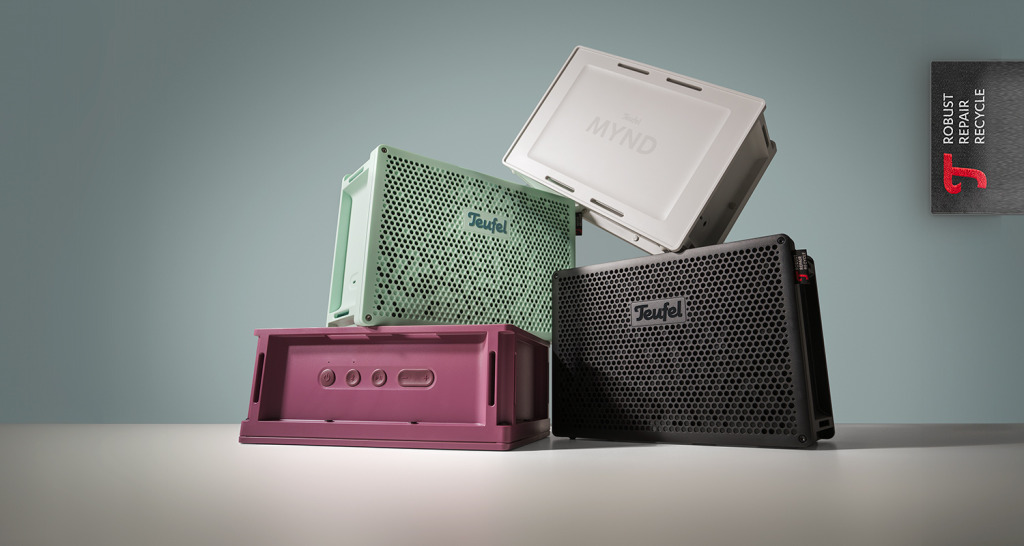
Today we’re pleased to present a special post: a guest article by Jonathan, who works at Teufel—and is part of a small team working on development the MYND in their spare time. The team has spent many evenings working together to add Wi-Fi streaming capabilities to the MYND. This guest post shows just how much potential an open-source speaker has. Enjoy the read!
Open Source – What Does It Mean?
Source code is comparable to the recipe used to create software for a computer or other electronic device. Usually, this “recipe” is kept secret by the manufacturer, which provides only the software or product sold to the end consumer. That means you always have to go to the manufacturer for bug fixes, new features, or simple compatibility updates. As long as they continue to do this, all is well. But when support ends or the product start not to be compatible with new hardware, you’re left out in the cold.
Open-source software on the other hand works completely differently. The producer provides the consumer both with the software and all ingredients needed to build it from scratch, which makes it possible to alter or expand with new features. Even without coding skills, there is often a community out there to implement new ideas or bug fixes, and add new features to open source projects.
What about the MYND?
For the MYND, we’ve taken it one step further. You don’t just get the software source code. You also get the schematics and 3D build files, which you can use to build or modify almost the entire speaker yourself.
After launching the speaker, we wondered how best to show everything else you can do with MYND. Our attention was quickly drawn to a product that’s very well known in the maker community.
Project MYNDberry: The Idea
Like most portable speakers, the MYND receives its audio signals via Bluetooth, AUX, or a computer connected via a USB sound card. It works well, but you always need an active playback device to deliver the sound. But what if the computer that receives and plays the music were built right into the MYND?
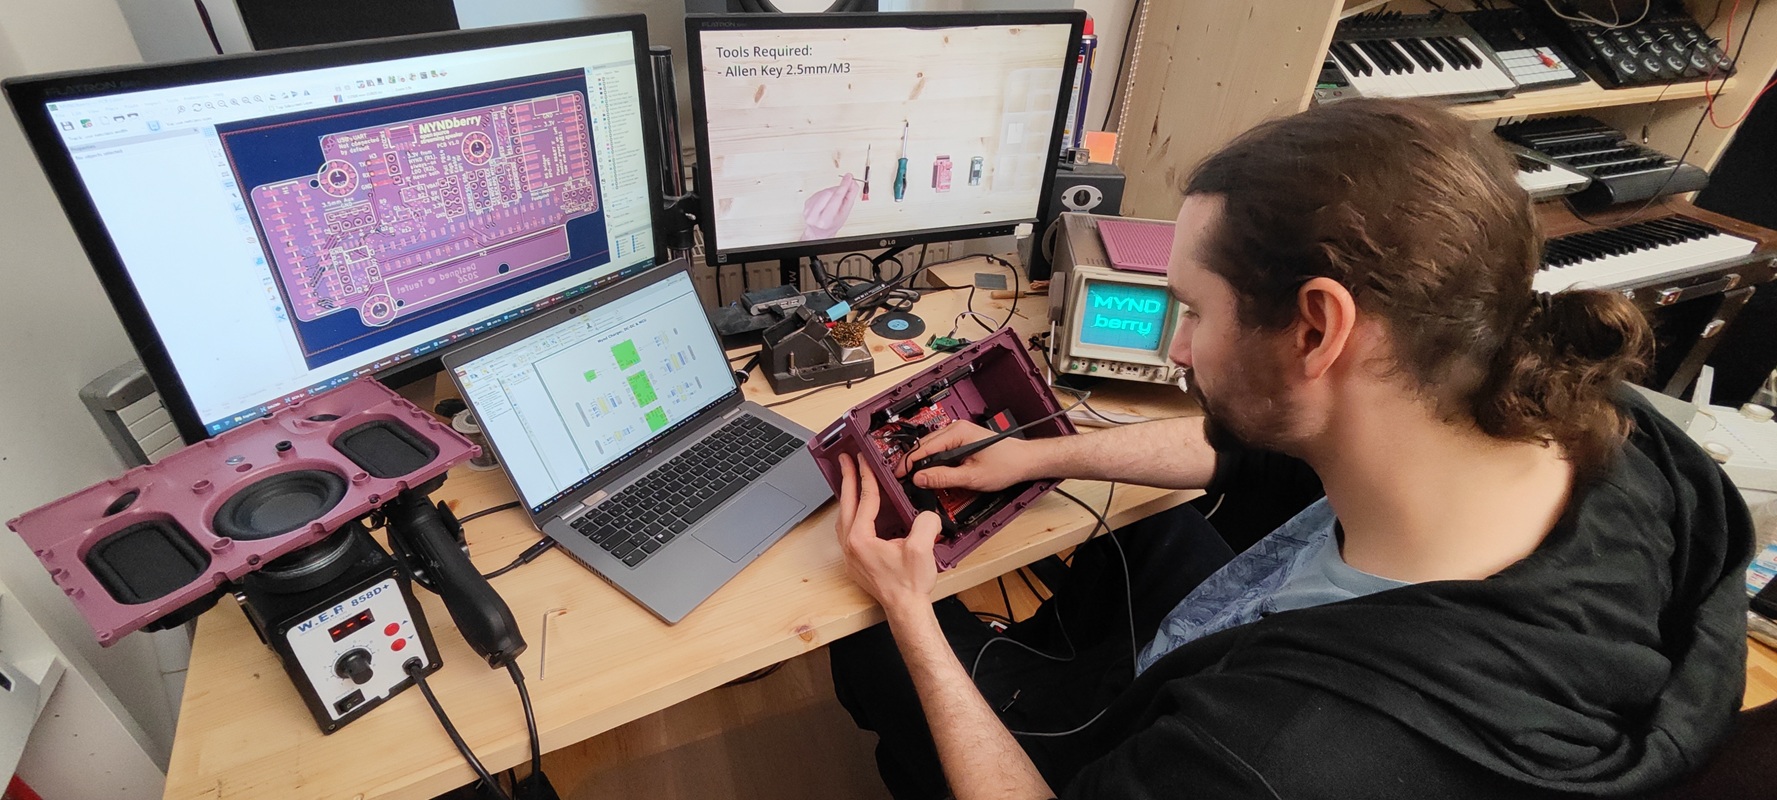
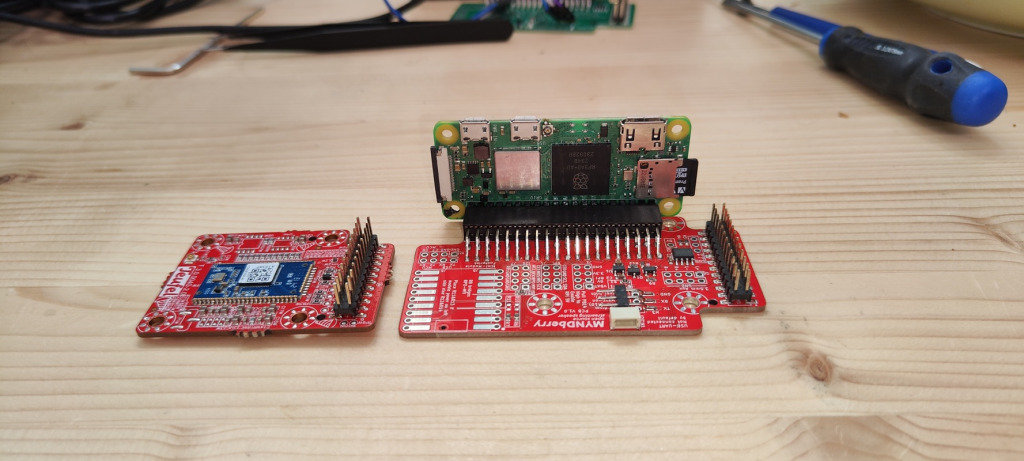
That’s exactly what our small team decided to try out. We used mini-computers from the British Raspberry Pi Foundation. The foundation manufactures credit-card-sized mini-computers that are perfectly suited for our project. We chose the Raspberry Pi Zero 2 W: it’s tiny and equipped with Wi-Fi and Bluetooth modules. Combined with the open-source operating system Moode OS, it becomes MYNDberry, a complete and flexible music hub.
Check it out: Moode OS
I’d also like to take this opportunity to extend a big thank you to Anton and Jomosa24—without their programming skills, this project would never have turned out so well!
What Makes the MYND & Raspberry Pi So Well Matched?
At first glance, these two products have nothing to do with each other. But since the schematics and 3D data for both projects have been made public, it wasn’t hard to combine them. And, between you and me, we’d already had the idea to use the “RasPi” during development, which is why we’d specifically “routed” a 5-volt power supply for it—something that isn’t even necessary for the standard version of the MYND.
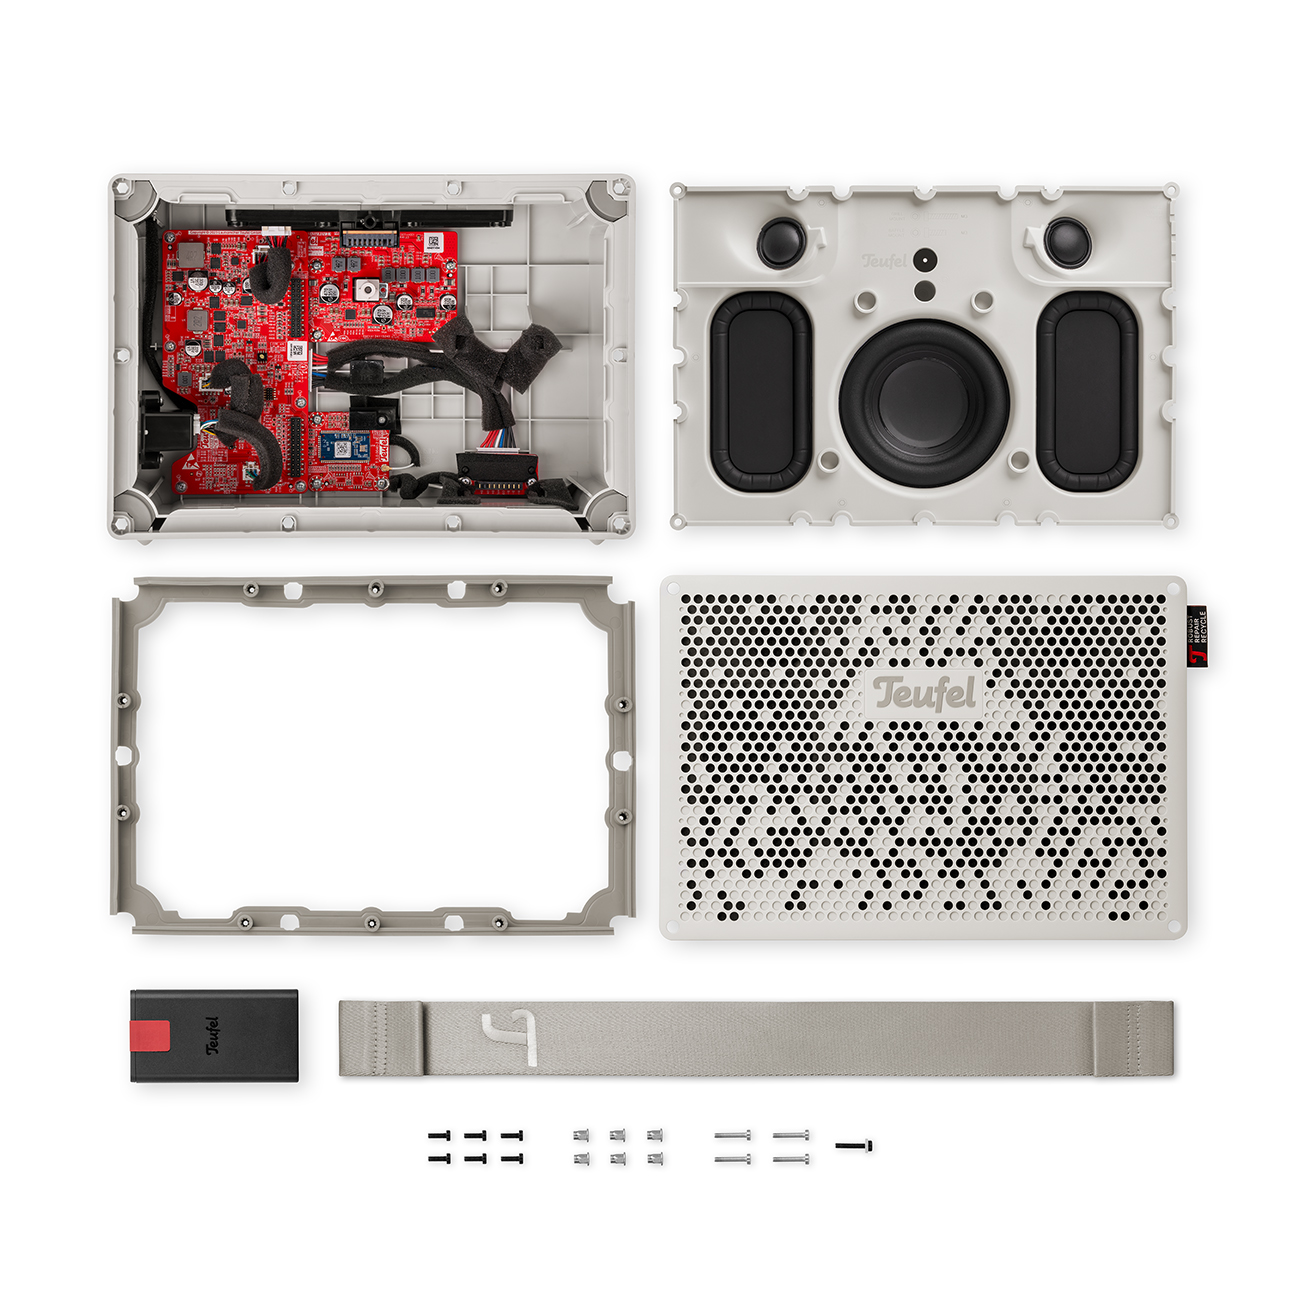
We had already achieved the first working results by hand-soldering wire jumpers, but those just don’t look good in an outdoor speaker. So we developed a special adapter board. This simply replaces the small Bluetooth board that comes pre-installed in the MYND. Then we just had to tweak the original firmware a bit so it would work well with the “RasPi,” and we had a functioning streaming speaker!
The Raspbery Pi Turns the MYND into a Fully-Fledged Streamer
Once everything is installed, you can easily control the system via a web browser or smartphone. You can listen to internet radio right away, without needing any external devices. Various streaming options are also available. You can even upload your own music directly to the MYND.
Can I Do This Myself?
Short answer: Yes, of course! Basic knowledge of electronics is certainly helpful, but not required. We’ve put together all the information and a complete shopping list.
But here’s the important part: Our team worked on this project in their spare time, on their own initiative. It is not an official Teufel project*, even though Teufel developers were involved. It all stems from a love of tinkering. Therefore:
- Modifications are made at your own risk*
- The AUX and USB ports will not work after the MYNDberry modification.
- However, all the modifications are reversible.
The Shopping List: What You’ll Need
To recreate our idea at home, you only need a few things.
Necessary Hardware and Tools
- 1 x MYND
- 1 x Raspberry Pi Zero 2 W Opens in new tab(with pin headers)
- Minimum 8 GB microSD, compatible with the Raspberry Pi
- 1 x MYNDberry PCB (available for purchase online, at least in Germany)
- 1 x hex key
- 1 x Phillips-head screwdriver
- Optional: ST‑Link or Raspberry Pi Pico, if you have to reflash your MYND
The MYNDberry Rebuild
Preparation step 1: Order the MYNDberry adapter board
The MYNDberry circuit board (PCB) isn’t available for purchase everywhere; instead, it’s manufactured specifically for you upon request. The instructions for getting your finished circuit board may seem a bit long, but they’re actually quite simple:
> Link to MYNDberry PCB ordering site
Preparation Stepp 2: MYNDberry Firmware, Moode OS
While you wait for the board to arrive, you can get the following ready: To ensure everything works properly later on, you’ll need to install the MYNDberry firmware on the MYND.
> Download Link and Update InstructionsOpens in new tab
Next, the Moode OS operating system for the “RasPi” is installed on an SD card, and you test to see if everything is working properly. You can simply power it using a micro-USB cable while this is happening.
Link to Moode OS InstructionsOpens in new tab
Important note: In this step, you will set the device name, username, and password. You will use this information later to access and control your MYNDberry via a web interface on your computer or smartphone.
Preparation Step 3: Raspberry Pi & MYNDberry Firmware
Now all you have to do is install the MYNDberry software on the “RasPi.” We’ve described how to do that below:
Link to the instructions for installing MYNDberry firmware on a Raspberry Pi Opens in new tab
The MYNDberry Hardware Upgrade
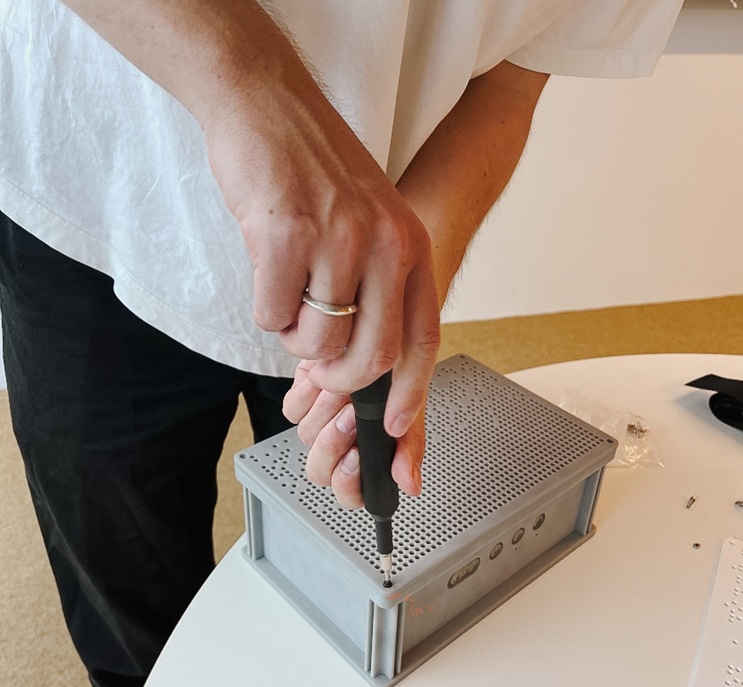
Now it’s time to get down to business! With the hardware and tools you need, you can open up your MYND and replace the circuit boards. I’ve even made a video tutorial just for this:
The Finale: Restart and Functionality Test
Now that all the hardware and software are installed, you can finally start up your MYND as usual by pressing the power button—it’ll take a little longer than usual, since an entire computer has to boot up. Once it’s done, give yourself a pat on the back: you’ve just built your very own streaming speaker, which lets you listen to music completely independently of phones and computers!

Join in. Build More. Help Shape the MYND.
What happens next is up to you. Recreate the project, share your results, and get involved. On GitHub, you can make suggestions, fix bugs, and even submit improvements directly. And if you have completely different MYND modding ideas—all the better! Tell us and others about them; that’s what keeps the open-source community alive and growing.
Here’s how to get in touch > https://mynd.discourse.group/
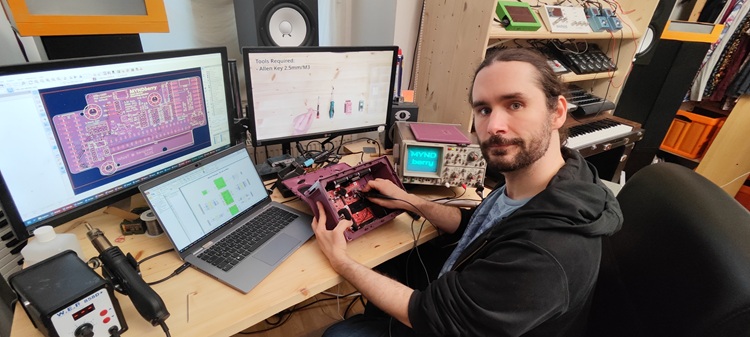
About: Guest Author Jonathan, Electronics Engineer
As an electronics engineer on the Electro Acoustic Systems team, Jonathan is responsible for the development, optimization, and integration of electronic components within our audio systems. His focus is on the interface between hardware, acoustics, and system architecture.
*Disclaimer: This guide is a community project and not an official feature. It is intended for experienced hobbyists with some basic knowledge of electronics. The steps we describe for installing the Raspberry Pi in the MYND are fully reversible and do not require any soldering. Although we did not encounter any problems during our tests, we cannot provide any guarantee or accept liability for damage resulting from this modification—neither to the MYND speaker itself nor to external components such as the Raspberry Pi. Please check all connections carefully. Incorrectly connected cables can lead to malfunctions. You perform this modification at your own risk. We also cannot guarantee that the modification will work for you in every case.
Title image/other images: Jonathan, private photograps